

SPC Flooring (Stone Plastic Composite Flooring) is a durable and modern rigid core flooring solution designed for residential and commercial spaces. It combines stone powder and PVC to deliver outstanding stability, waterproof performance, and long-lasting beauty.
Advantages:
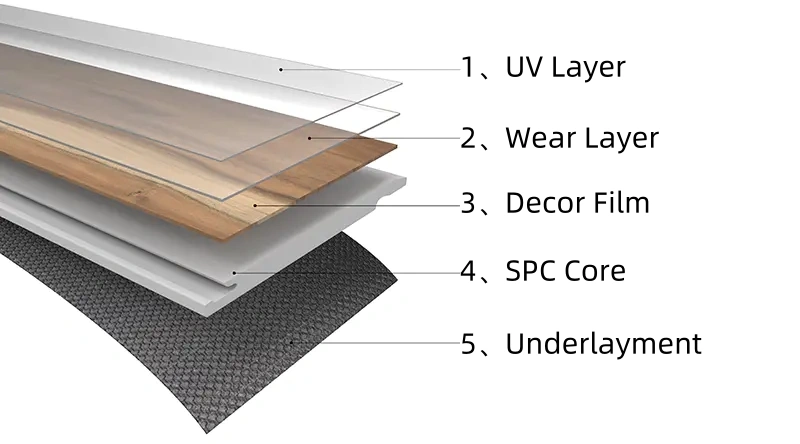
SPC Flooring (Stone Plastic Composite Flooring) is a high-performance rigid core vinyl flooring designed for modern residential and commercial spaces. Specifically, manufacturers combine natural limestone powder, polyvinyl chloride (PVC), and stabilizers to create an ultra-stable core structure. This structure delivers outstanding durability and reliable 100% waterproof performance.
As one of the most popular flooring solutions in the global market, SPC flooring fits perfectly in homes, offices, hotels, retail stores, and public buildings. This is all thanks to its exceptional strength, high stability, and realistic, beautiful decorative appearance.
| Item | Parameter |
| Material | Stone Plastic Composite (SPC) |
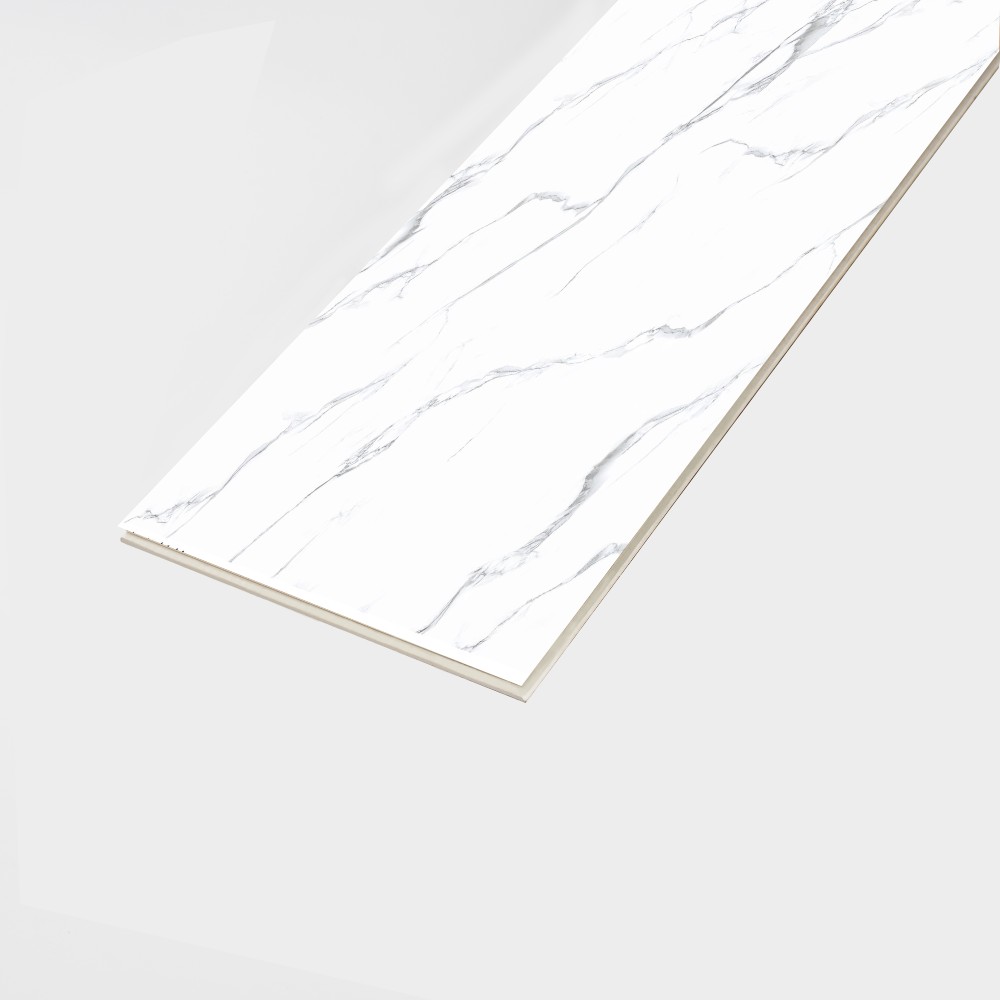
| Thickness | 4mm / 5mm / 6mm / 8mm |
| Wear Layer | 0.2mm, 0.3mm, 0.5mm, 0.7mm, 1.0mm |
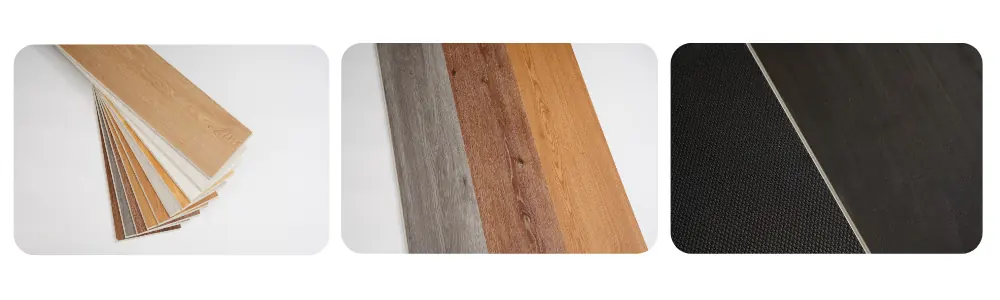
| Size | 6”×48” (150×1220mm) 7”×48” (182×1220mm) 9”×48” (230×1220mm) 9”×60” (230×1525mm) |
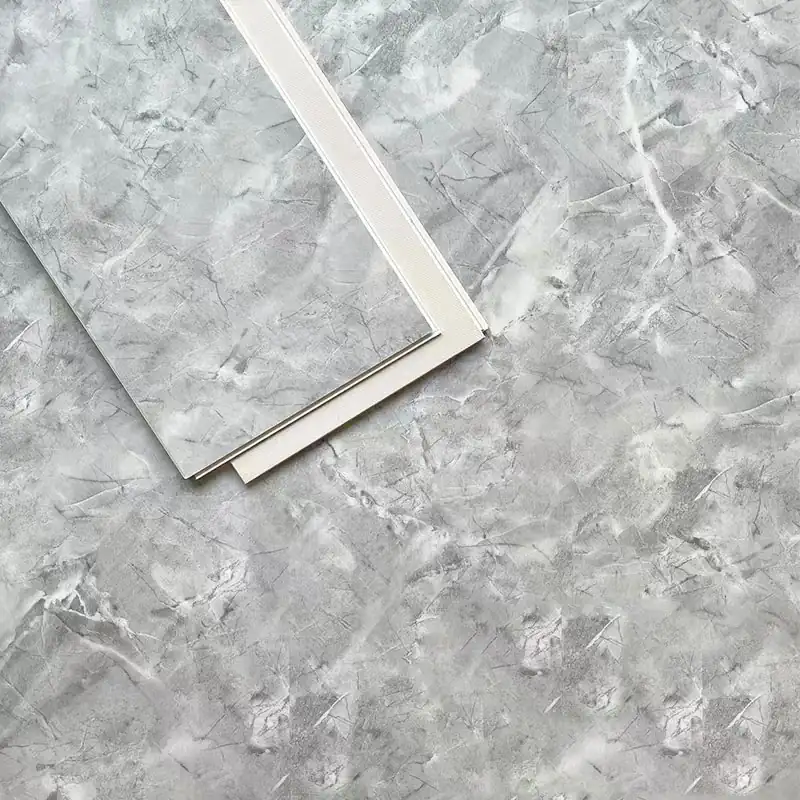
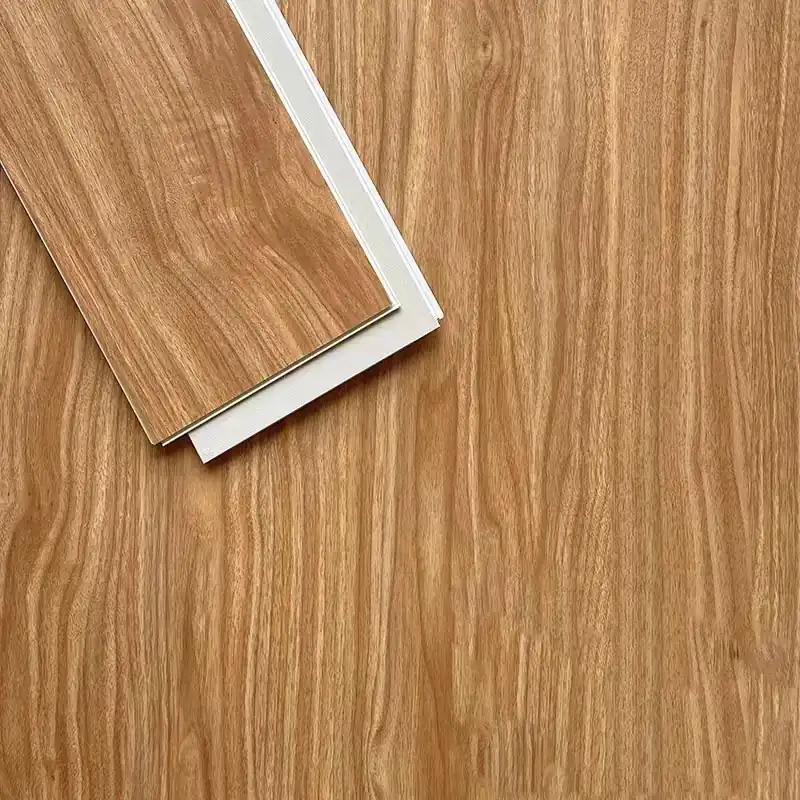
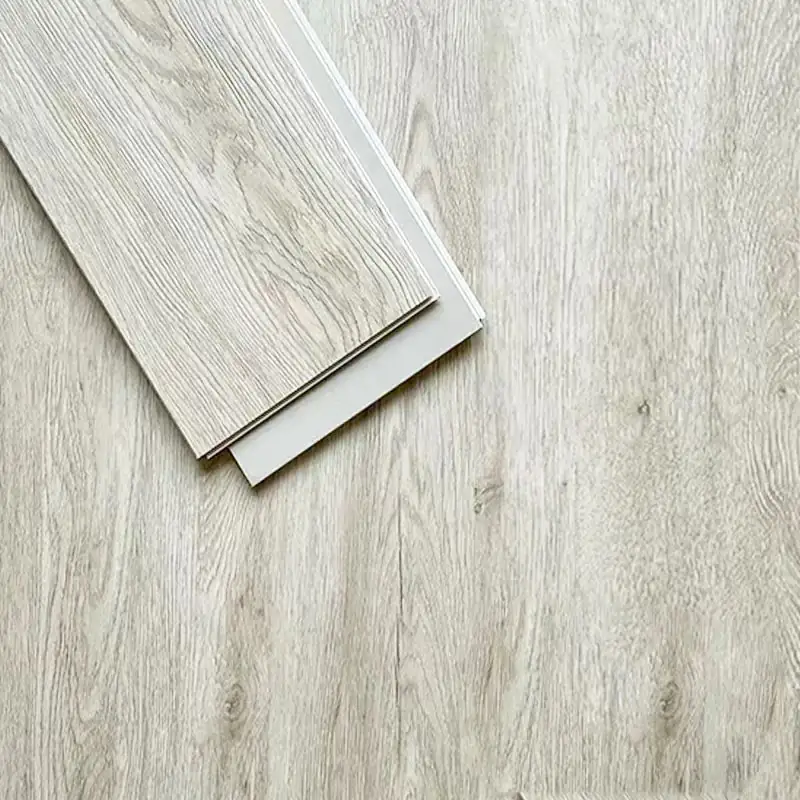
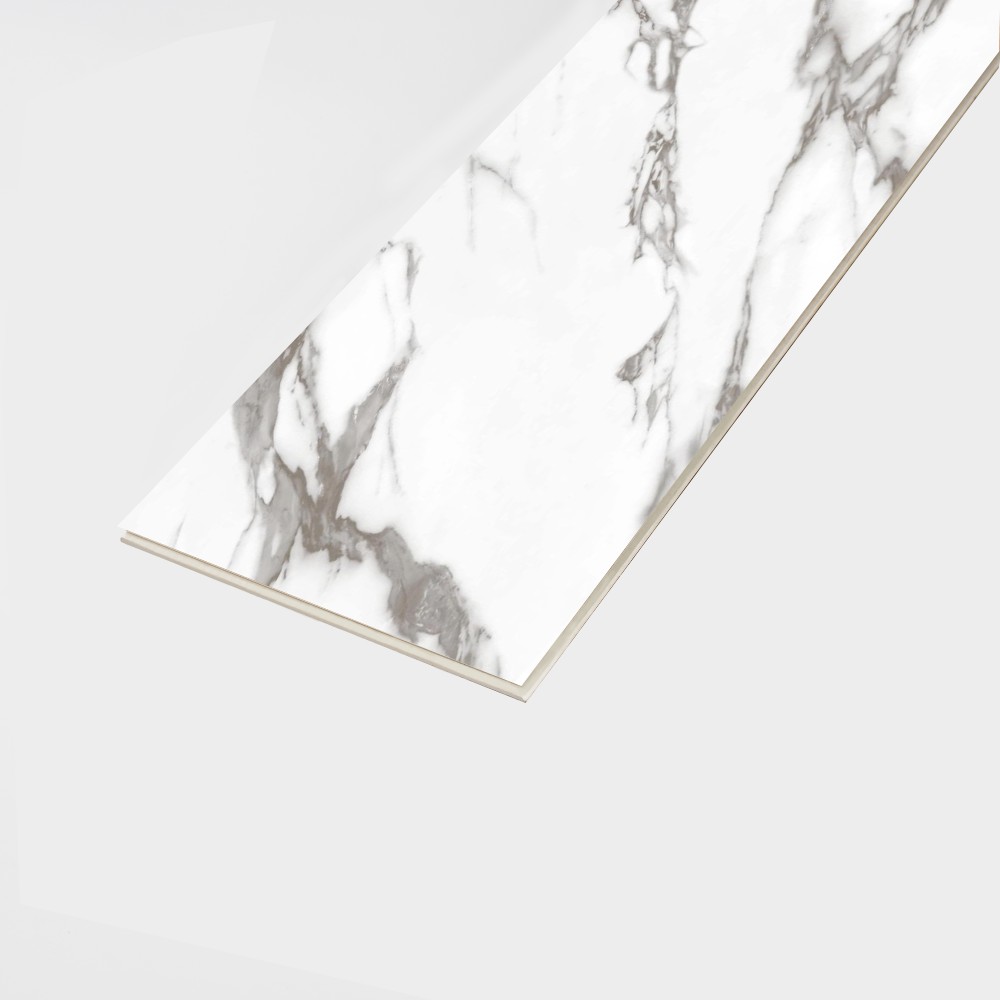
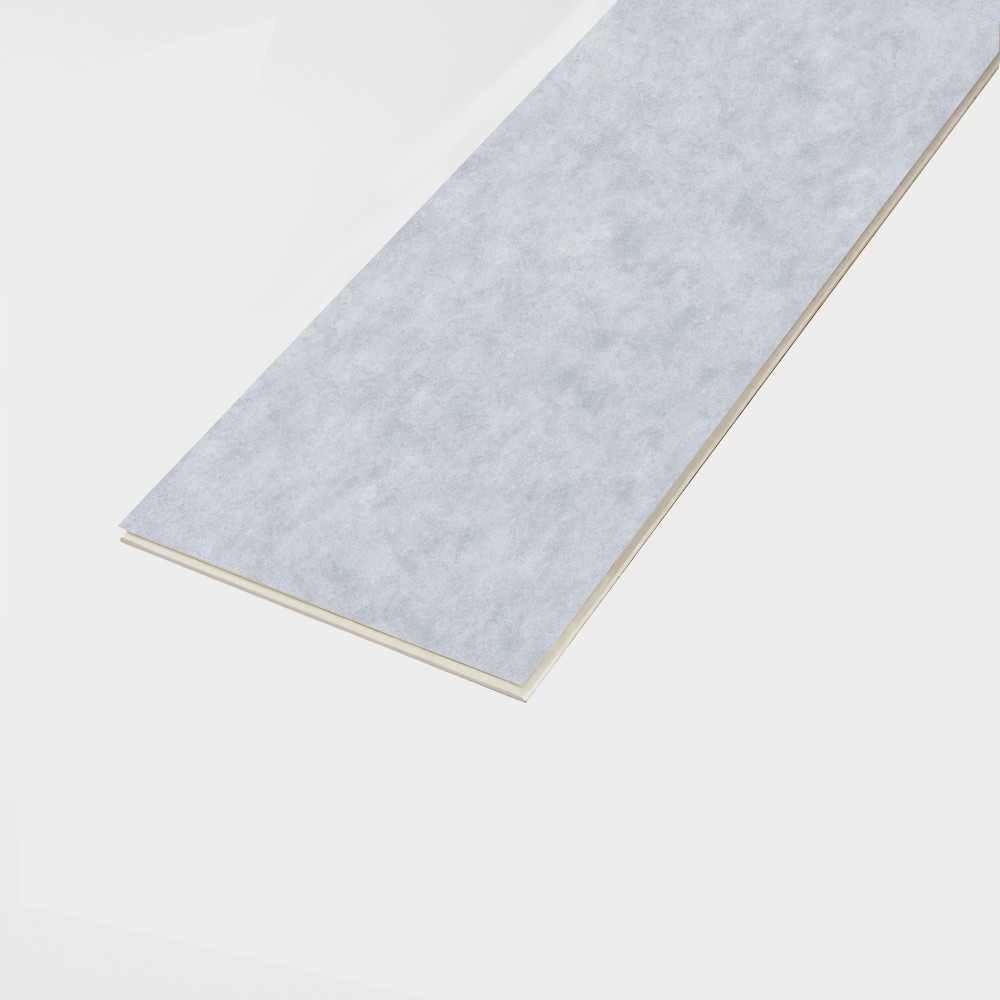
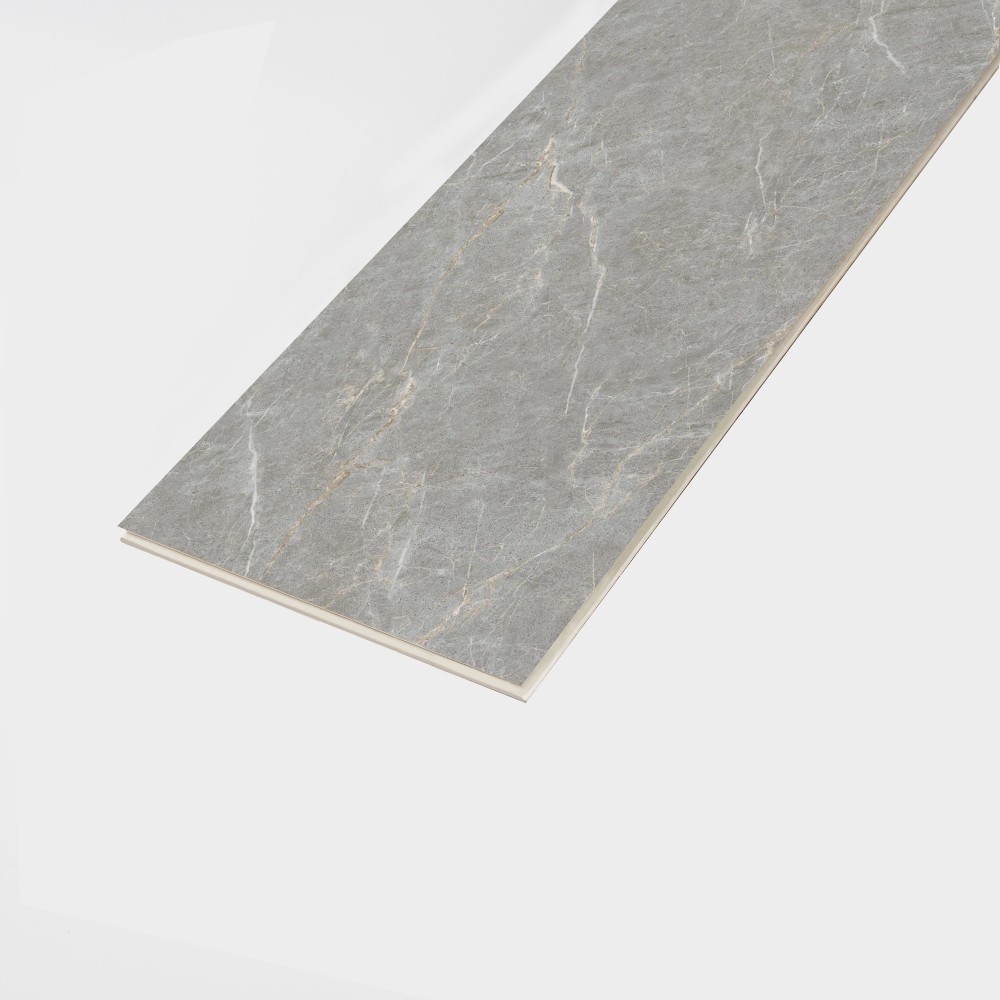
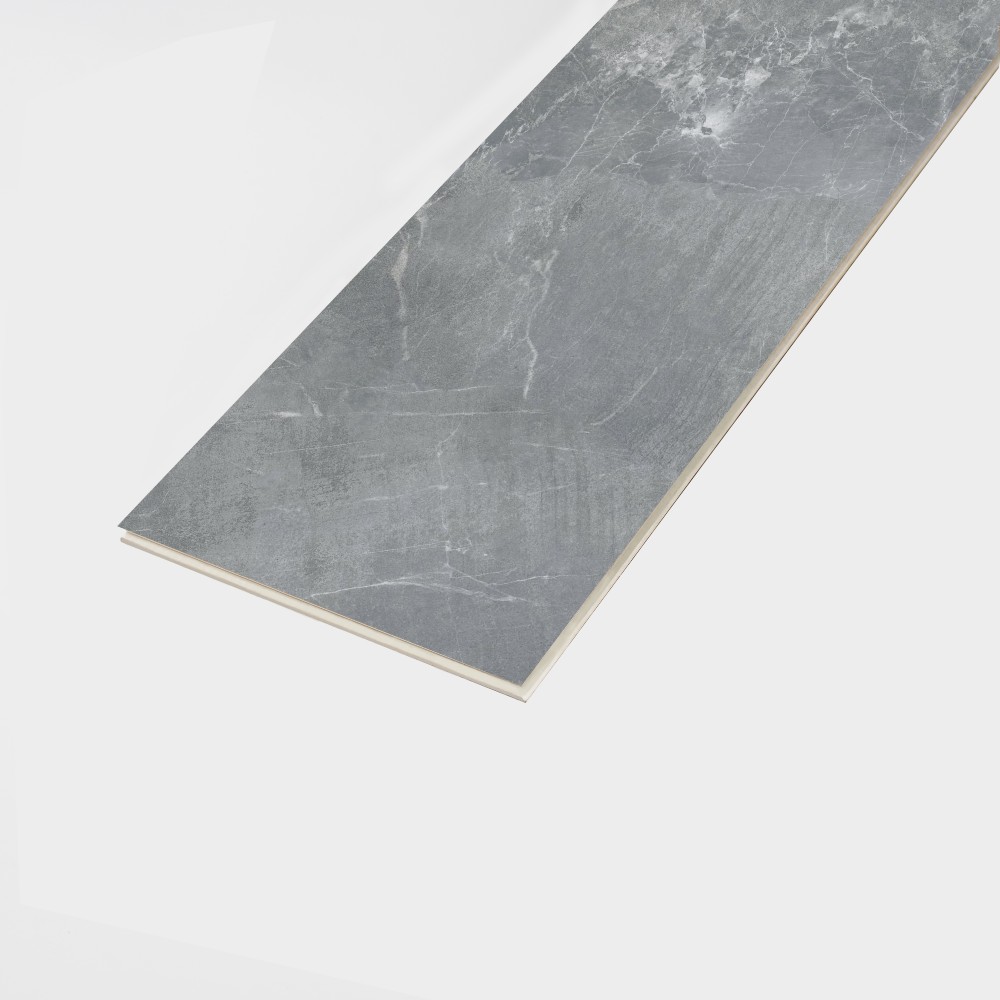
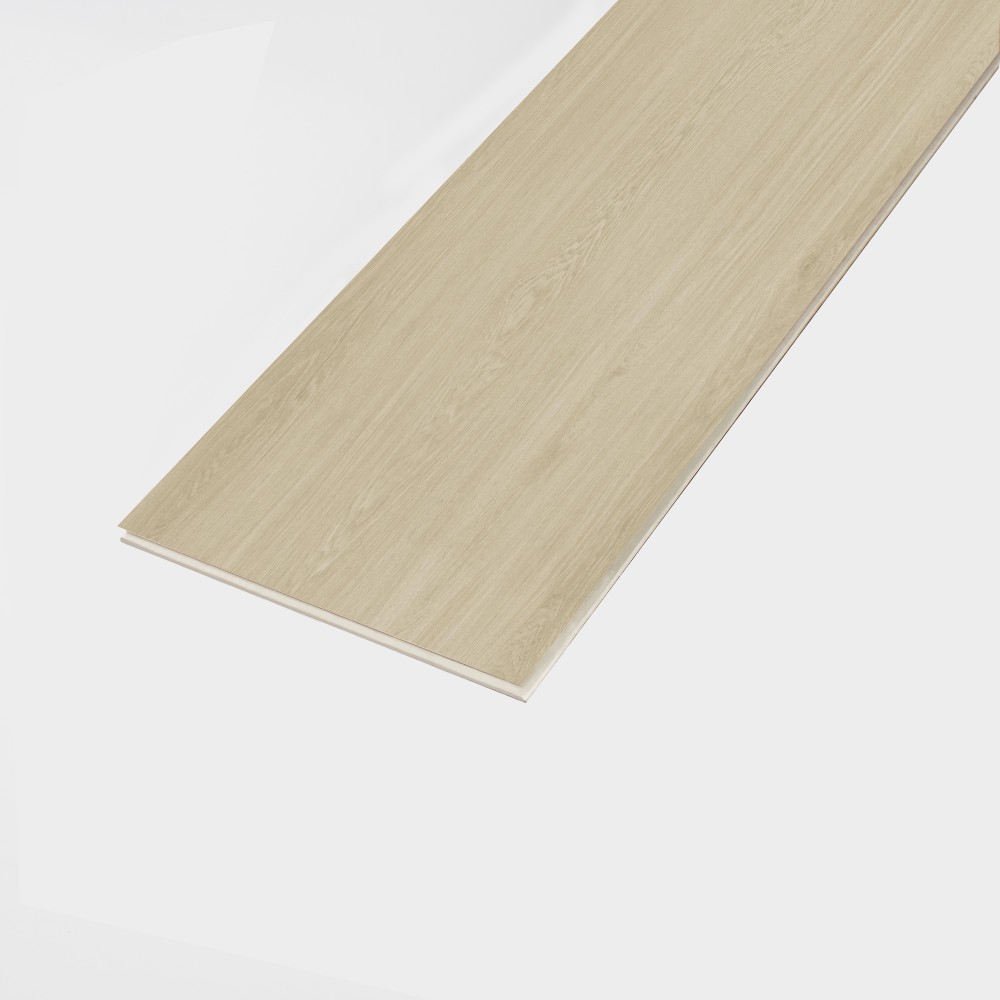
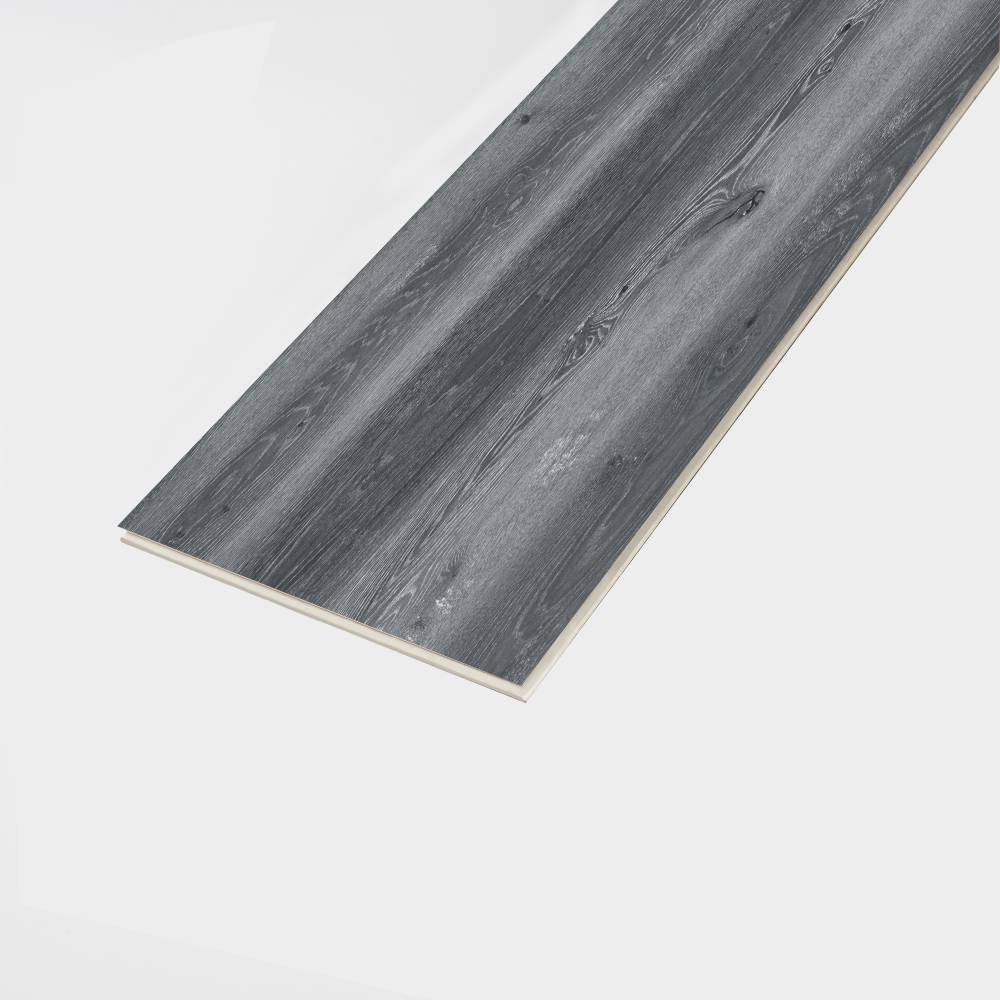
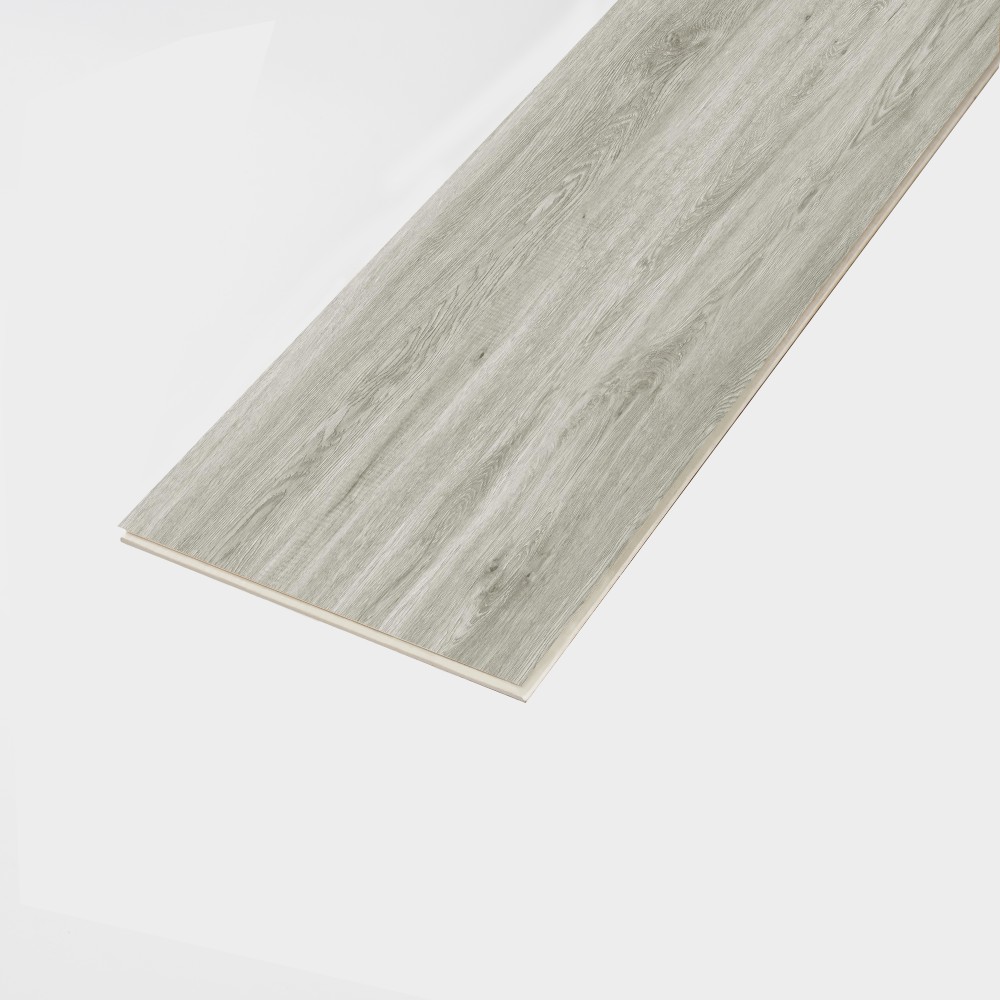
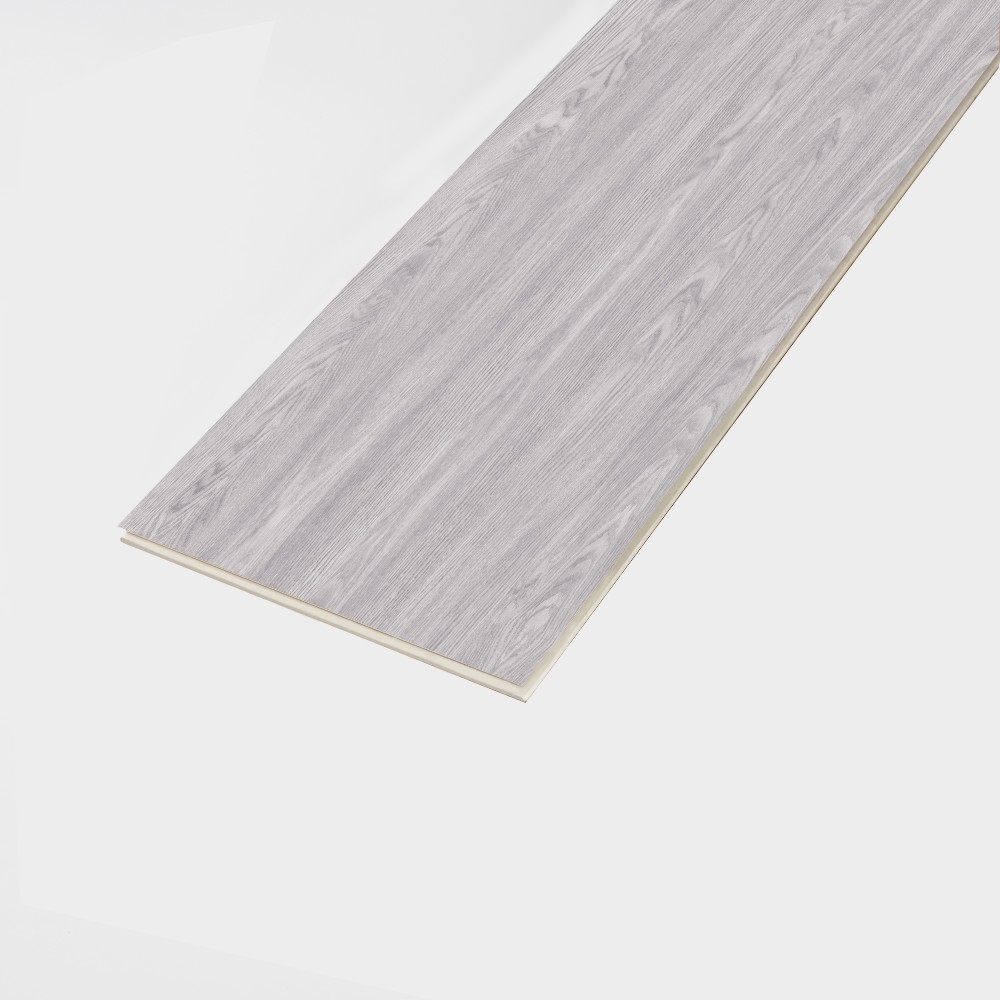
| Surface Texture | Wood Grain / Marble / Carpet |
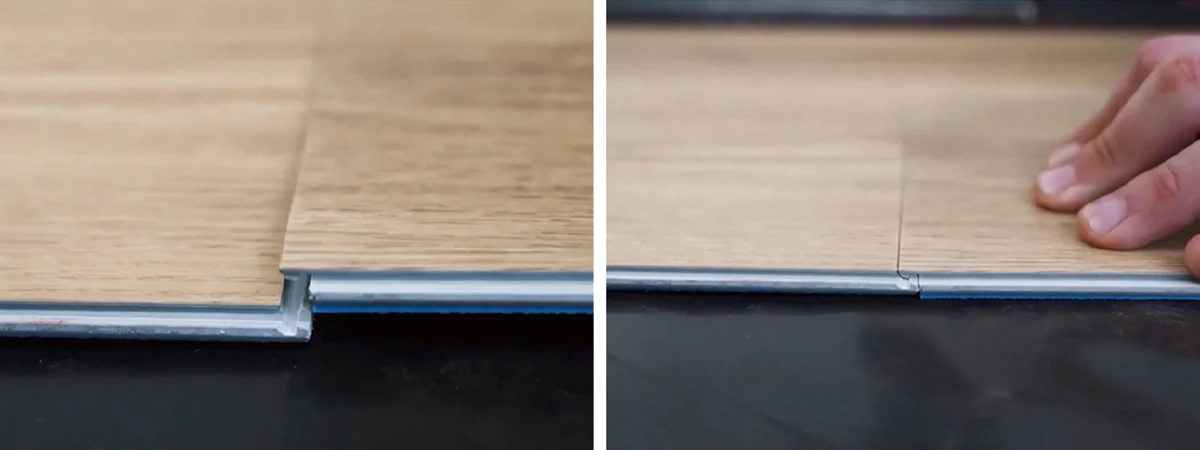
| Installation | Click Lock System |
| Application | Home, Office, Shop, Hotel, School |
It works perfectly for bathrooms, kitchens, basements, and other high-humidity areas.
The high-density wear layer guards against daily scratches, pets, and heavy foot traffic.
It offers excellent fireproof performance, so it is much safer for home and commercial use.
The click-lock system supports fast DIY installation, and you do not need any glue at all.
It contains zero formaldehyde and is completely non-toxic, making it safe for your family and pets.
The soft underlayment effectively reduces noise, creating quieter and more comfortable living spaces.
Compared with traditional flooring materials, this type of flooring offers many clear advantages:
Overall, it serves as an ideal solution for areas that require strong moisture resistance and long-lasting durability.
Today, SPC flooring appears in a wide range of environments, including the following:
Thanks to its great versatility, it fits both heavy-traffic areas and decorative interior spaces perfectly.
This type of flooring uses an advanced click-lock installation system, which allows quick and efficient installation without glue or nails. You can install it over most existing subfloors as long as the surface stays clean, dry, and level.
As a result, this system greatly reduces installation time, labor cost, and your overall project budget.
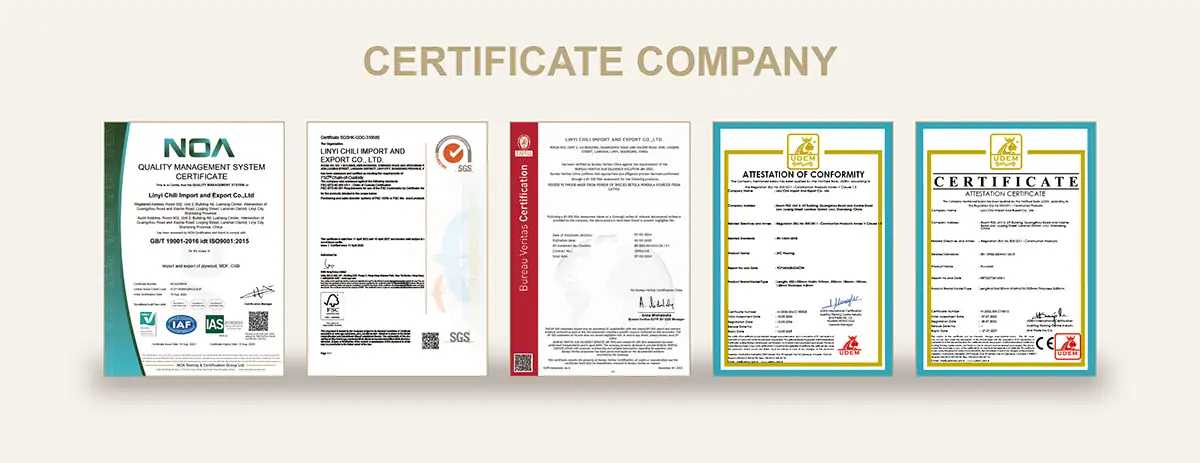
We provide high-quality SPC flooring with strict quality control and stable production capacity. Our products fully meet international standards, and we also support customized solutions to fit different market needs.
In addition, we focus on durability, design realism, and long-term performance to ensure strong competitiveness in global flooring projects.
With correct installation and regular maintenance, the flooring typically lasts 15–20 years in residential use. For high-traffic commercial spaces, it usually serves you well for 10–15 years.
Yes, it works extremely well on concrete subfloors. Just ensure the surface is level, clean, and dry before installation to achieve the best results.
Absolutely. Regular sweeping and mopping with mild detergent are enough for daily care. You only need to avoid abrasive cleaners or excessive water to protect the surface well.
Yes, this type of flooring works well with underfloor heating systems (up to 27°C). It provides efficient heat transfer and keeps excellent dimensional stability at the same time.
Here are a few points to consider: