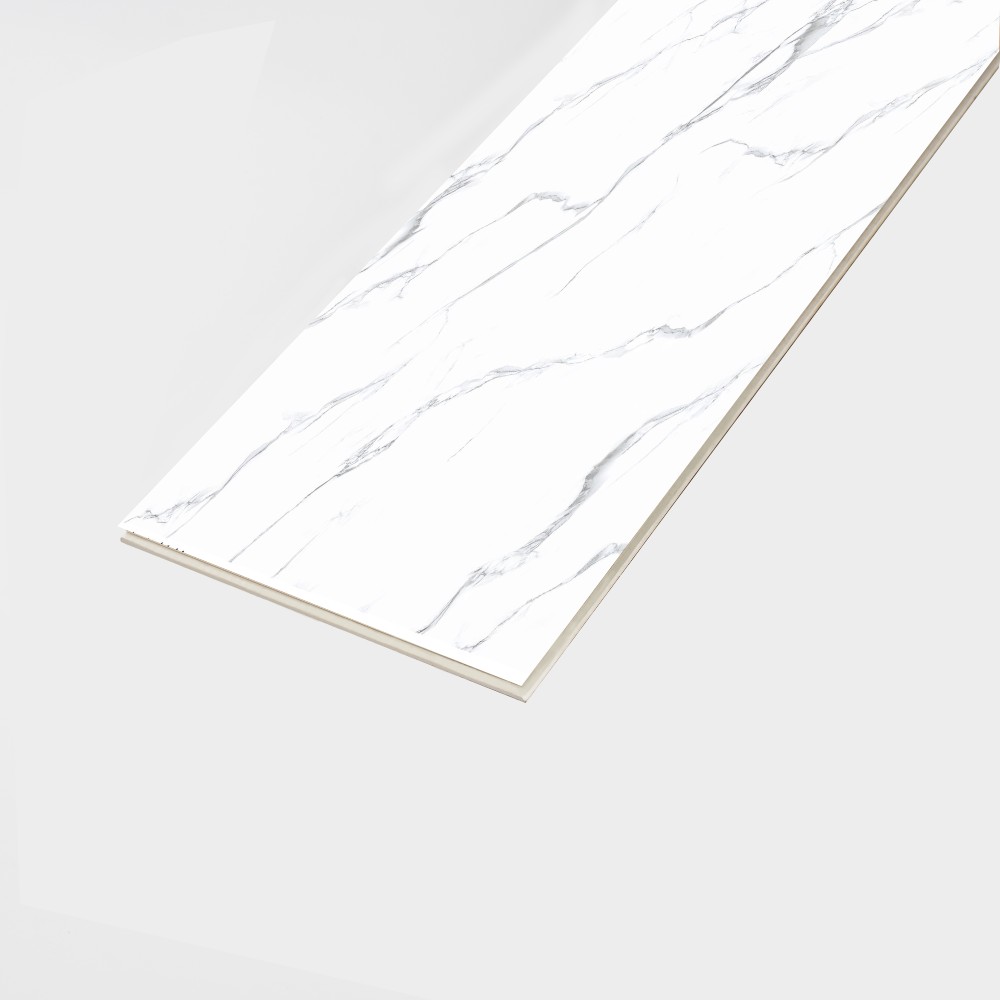
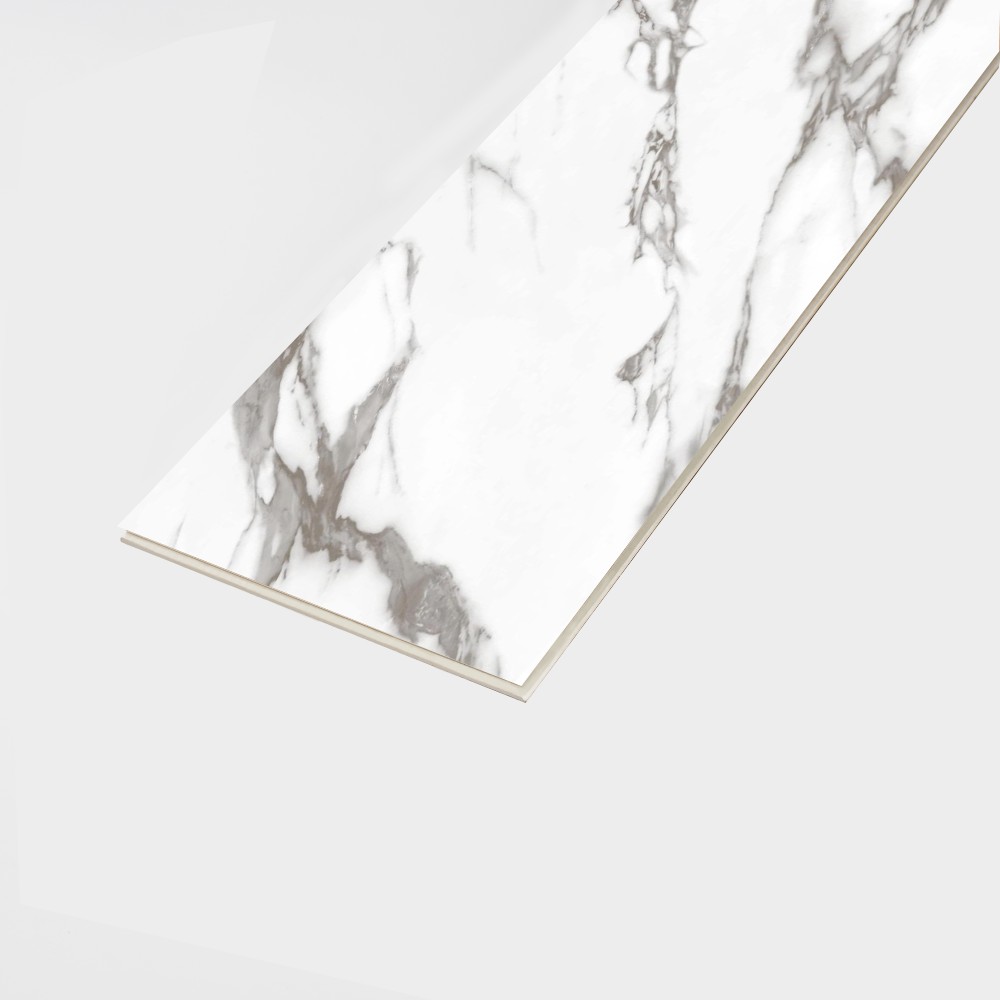
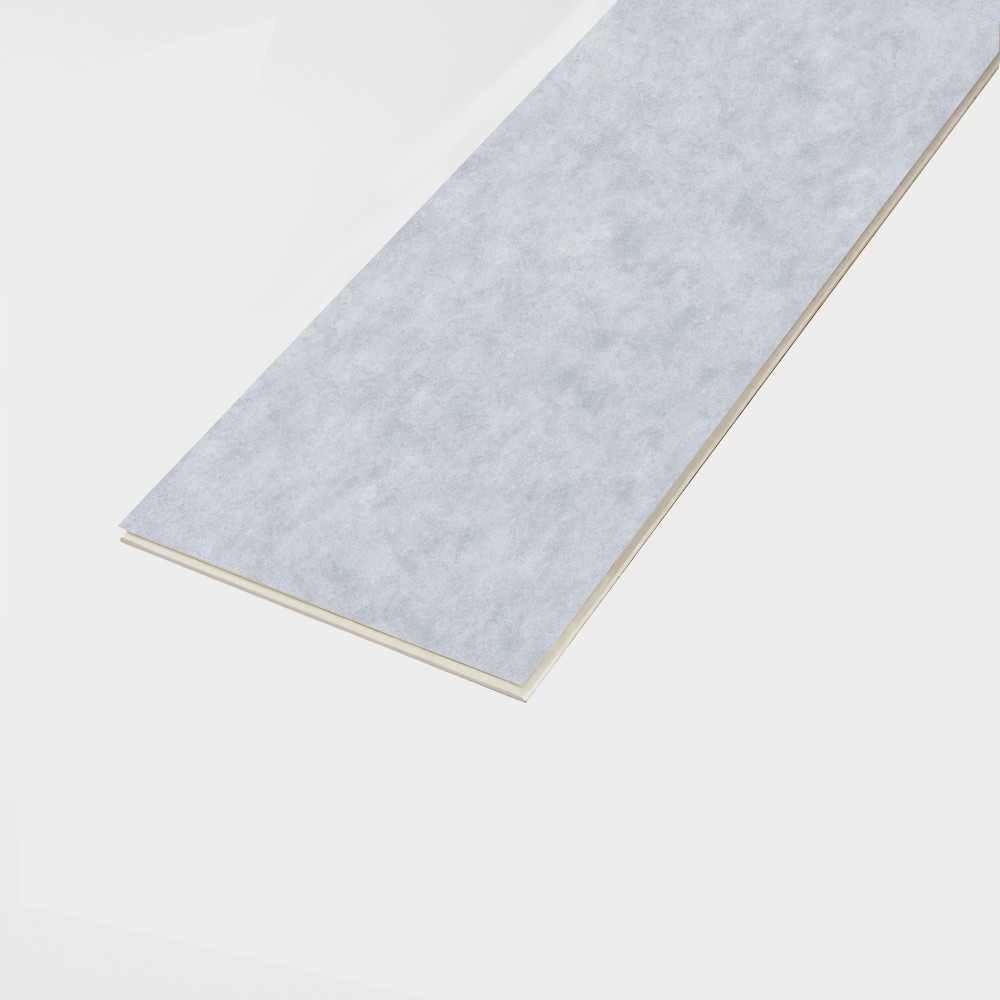
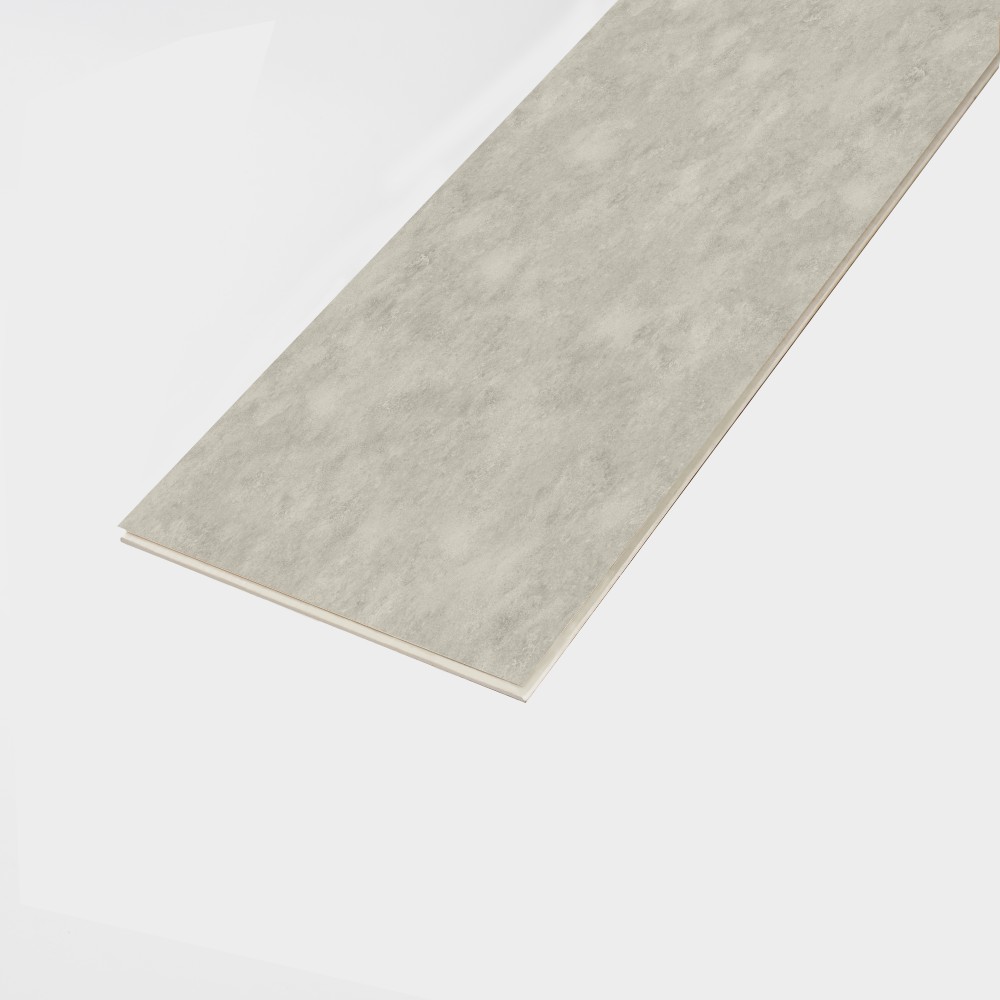
أرضيات SPC

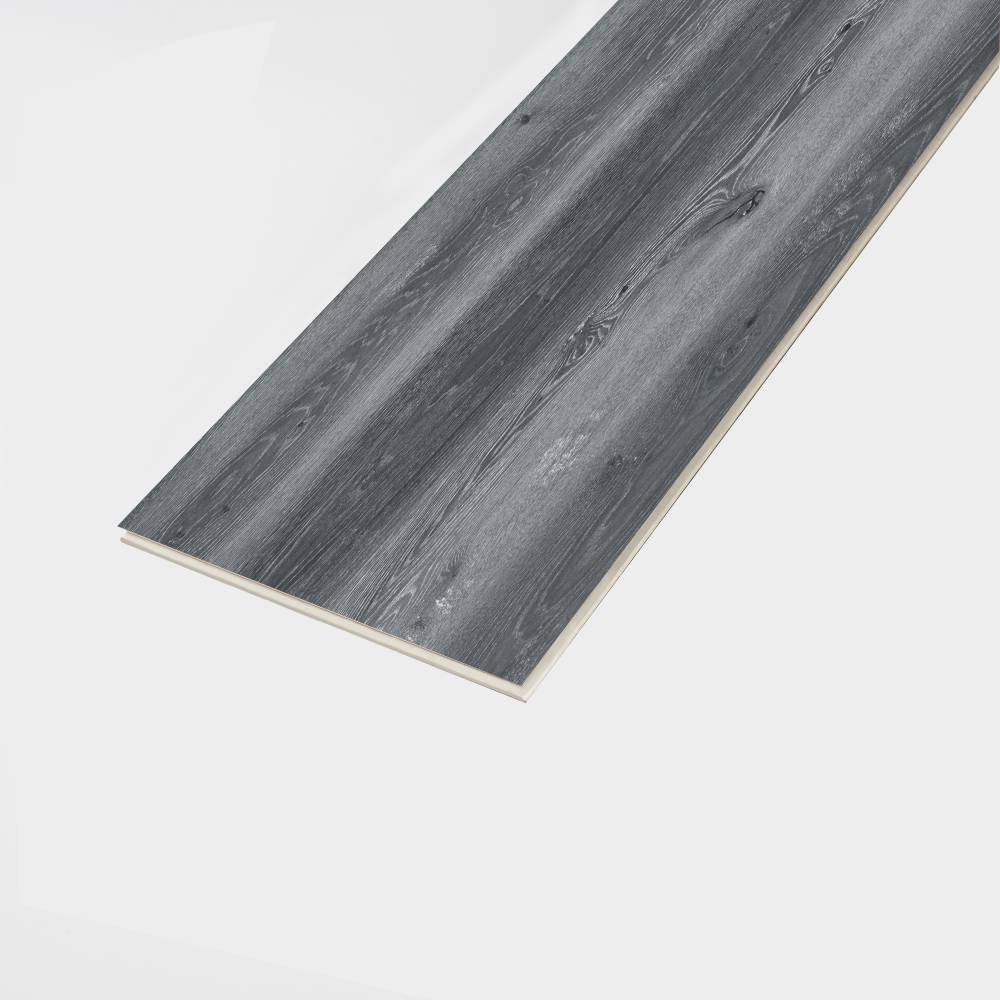
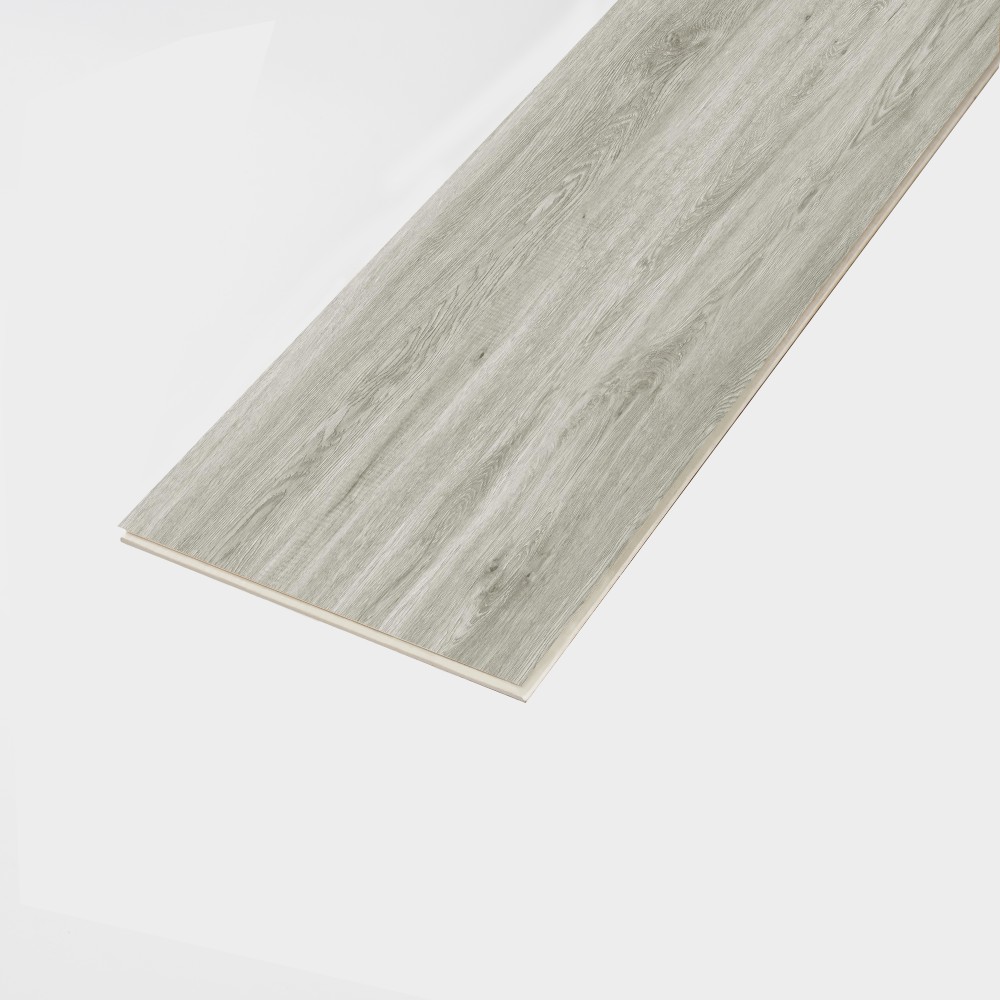
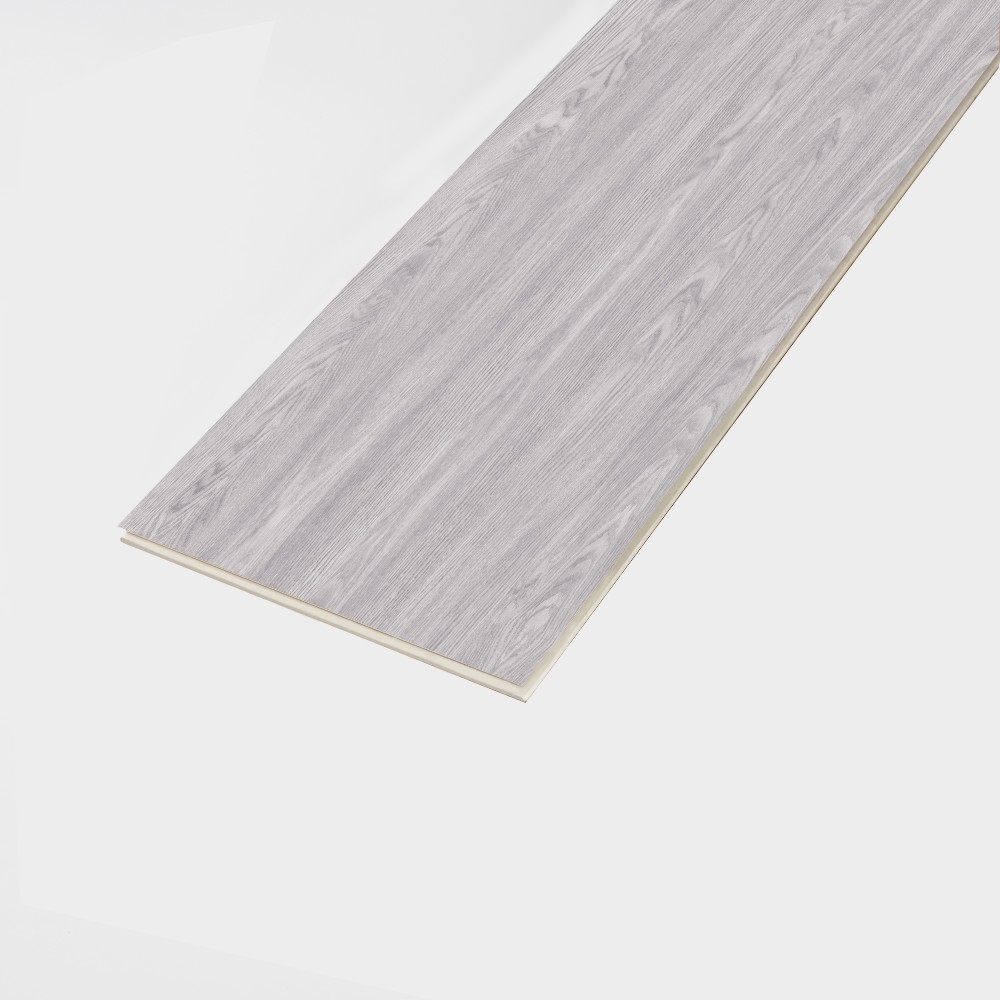
عرض أرضيات SPC SPC-flooring-product-img-4 SPC-flooring-product-img-5 SPC-flooring-product-img-6 SPC-flooring-product-img-7 SPC-flooring-product-img-8 SPC-flooring-product-img-9 SPC-flooring-product-img-10 SPC-flooring-product-img-11 SPC-flooring-product-img-1 SPC-flooring-product-img-2 SPC-flooring-product-img-3

أرضيات SPC

أرضيات SPC (الأرضيات المركبة من الحجر والبلاستيك) هي حل أرضيات متين وعصري ذو لب صلب، مصمم للمساحات السكنية والتجارية. يجمع هذا النوع من الأرضيات بين مسحوق الحجر ومادة PVC ليمنح ثباتًا فائقًا، ومقاومة للماء، وجمالًا يدوم طويلًا.

المزايا:

  • مقاوم للماء بنسبة 100%، مثالي للمطابخ والحمامات والأقبية
  • قلب صلب عالي الكثافة لمقاومة ممتازة للصدمات
  • هيكل مستقر مع حد أدنى من التمدد أو الانكماش
  • سطح مقاوم للخدش، مناسب للمناطق ذات الحركة المرورية العالية
  • متوفر بتشكيلة واسعة من التصاميم البصرية الخشبية والحجرية

خطأ: نموذج الاتصال غير موجود.

Category

ما هي أرضيات SPC؟

أرضيات SPC (الأرضيات المركبة من الحجر والبلاستيك) هي أرضيات فينيل عالية الأداء ذات لب صلب، مصممة خصيصًا للمساحات السكنية والتجارية الحديثة. ويقوم المصنّعون بدمج مسحوق الحجر الجيري الطبيعي مع كلوريد البوليفينيل (PVC) ومواد مثبتة لتكوين بنية أساسية فائقة الثبات. توفر هذه البنية متانة استثنائية ومقاومة للماء بنسبة 100%.

تُعدّ أرضيات SPC من أكثر حلول الأرضيات شيوعًا في السوق العالمية، وهي مناسبة تمامًا للمنازل والمكاتب والفنادق والمتاجر والمباني العامة. ويعود ذلك إلى متانتها الاستثنائية وثباتها العالي ومظهرها الجمالي الواقعي.
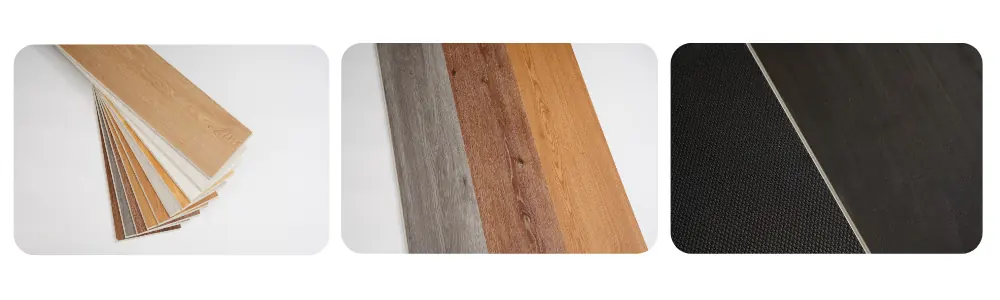
تفاصيل سطح التغطية بتقنية SPC

مواصفات المنتج

نظام القفل بالضغط

العنصر المعلمة
المادة مركب الحجر والبلاستيك (SPC)
السماكة 4 مم / 5 مم / 6 مم / 8 مم
طبقة مقاومة للتآكل 0.2 مم، 0.3 مم، 0.5 مم، 0.7 مم، 1.0 مم
مقاس 6 بوصات × 48 بوصة (150 × 1220 مم)
7 بوصات × 48 بوصة (182 × 1220 مم)
9 بوصات × 48 بوصة (230 × 1220 مم)
9 بوصات × 60 بوصة (230 × 1525 مم)
ملمس السطح حبيبات الخشب / الرخام / السجاد
التثبيت
طلب المنزل، المكتب، المتجر، الفندق، المدرسة

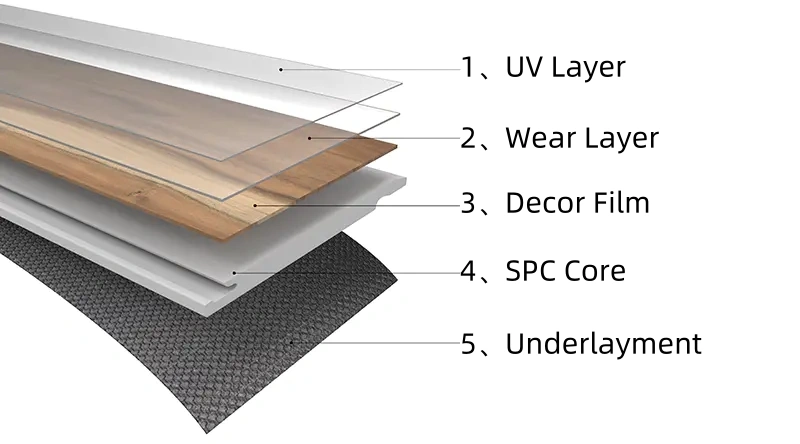
بنية أرضيات SPC

  1. طبقة الحماية من الأشعة فوق البنفسجية: تحمي هذه الطبقة السطح بفعالية من الخدوش والبقع وبهتان اللون. كما أنها تُحسّن بشكل كبير من مقاومة التآكل وتُسهّل التنظيف اليومي، مما يُساعد الأرضية على الحفاظ على مظهرها الأصلي لسنوات.
  2. طبقة الحماية من التآكل: توفر طبقة الحماية من التآكل حماية قوية ضد الاحتكاك والصدمات وحركة المرور الكثيفة. ومن الجدير بالذكر أن زيادة سمك طبقة الحماية من التآكل تُحسّن من متانة الأرضية وتُطيل عمرها الافتراضي بشكل فعال.
  3. طبقة زخرفية: تُضفي هذه الطبقة مظهرًا واقعيًا لأرضيات SPC، مثل ملمس الخشب أو الحجر أو الرخام. علاوة على ذلك، تُنتج تقنية الطباعة عالية الدقة تصاميم طبيعية وأنيقة تتناسب مع مختلف أنماط الديكور الداخلي.
  4. قلب SPC: يعمل قلب SPC كطبقة هيكلية رئيسية مصنوعة من مسحوق الحجر الجيري والبولي فينيل كلوريد (PVC). يوفر هذا القلب صلابة ممتازة، ومقاومة كاملة للماء، وثباتًا عاليًا في الأبعاد، مما يمنع التمدد أو التشوه بفعالية.
  5. الطبقة السفلية: الطبقة السفلية هي طبقة داعمة اختيارية تُحسّن بشكل كبير من راحة القدمين، وتقلل الضوضاء، وتعزز العزل. كما أنها تُساعد على تسوية عيوب الأرضية الفرعية البسيطة وتجعل عملية التركيب أسهل بكثير.
طبقات هيكل أرضيات SPC

الميزات الرئيسية

مقاوم للماء بنسبة 100%

إنه مثالي للاستخدام في الحمامات والمطابخ والأقبية وغيرها من المناطق ذات الرطوبة العالية.

مقاوم للخدش والتآكل

تحمي طبقة التآكل عالية الكثافة من الخدوش اليومية والحيوانات الأليفة وحركة المرور الكثيفة.

مثبطات اللهب

يتميز بأداء ممتاز في مقاومة الحريق، لذا فهو أكثر أمانًا للاستخدام المنزلي والتجاري.

سهولة التركيب

يدعم نظام القفل بالضغط عملية التركيب السريع بنفسك، ولن تحتاج إلى أي غراء على الإطلاق.

صديق للبيئة

لا يحتوي على الفورمالديهايد وهو غير سام تمامًا، مما يجعله آمنًا لعائلتك وحيواناتك الأليفة.

عزل الصوت

تعمل الطبقة السفلية الناعمة على تقليل الضوضاء بشكل فعال، مما يخلق مساحات معيشة أكثر هدوءًا وراحة.

مزايا أرضيات SPC

بالمقارنة مع مواد الأرضيات التقليدية، يوفر هذا النوع من الأرضيات العديد من المزايا الواضحة:

  • أكثر مقاومة للماء من الأرضيات الخشبية المصنعة
  • أكثر استقرارًا من الأرضيات الخشبية الطبيعية
  • أكثر فعالية من حيث التكلفة من الخشب الصلب
  • سهولة الصيانة والتنظيف
  • مناسب للاستخدام السكني والتجاري

بشكل عام، يُعد هذا المنتج حلاً مثالياً للمناطق التي تتطلب مقاومة عالية للرطوبة ومتانة تدوم طويلاً.

استخدامات أرضيات SPC

تُستخدم أرضيات SPC اليوم في مجموعة واسعة من البيئات، بما في ذلك ما يلي:

  • منازل وشقق سكنية
  • الفنادق والمنتجعات
  • مباني المكاتب والمساحات المؤسسية
  • متاجر البيع بالتجزئة ومراكز التسوق
  • المدارس والمستشفيات والمرافق العامة

بفضل تنوع استخداماته الكبير، فهو يناسب المناطق ذات الحركة المرورية الكثيفة والمساحات الداخلية المزخرفة على حد سواء.

نظام التركيب

يستخدم هذا النوع من الأرضيات نظام تركيب متطورًا بنظام التعشيق بالضغط، مما يتيح تركيبًا سريعًا وفعالًا دون الحاجة إلى غراء أو مسامير. يمكنك تركيبه فوق معظم الأرضيات الفرعية الموجودة طالما بقي السطح نظيفًا وجافًا ومستويًا.

ونتيجة لذلك، يقلل هذا النظام بشكل كبير من وقت التركيب وتكلفة العمالة وميزانية مشروعك الإجمالية.
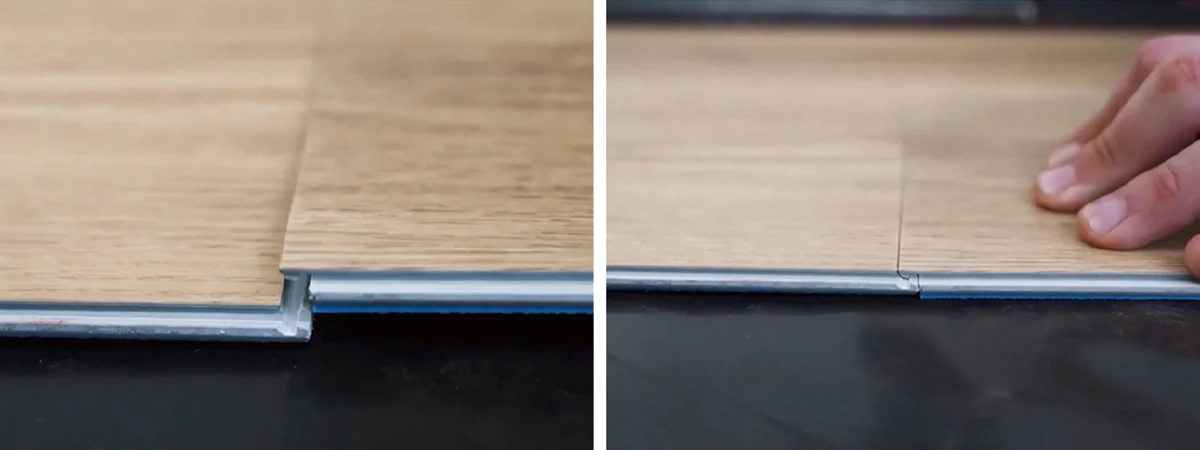
 

نظام قفل أرضيات SPC

لماذا تختار أرضيات SPC الخاصة بنا؟

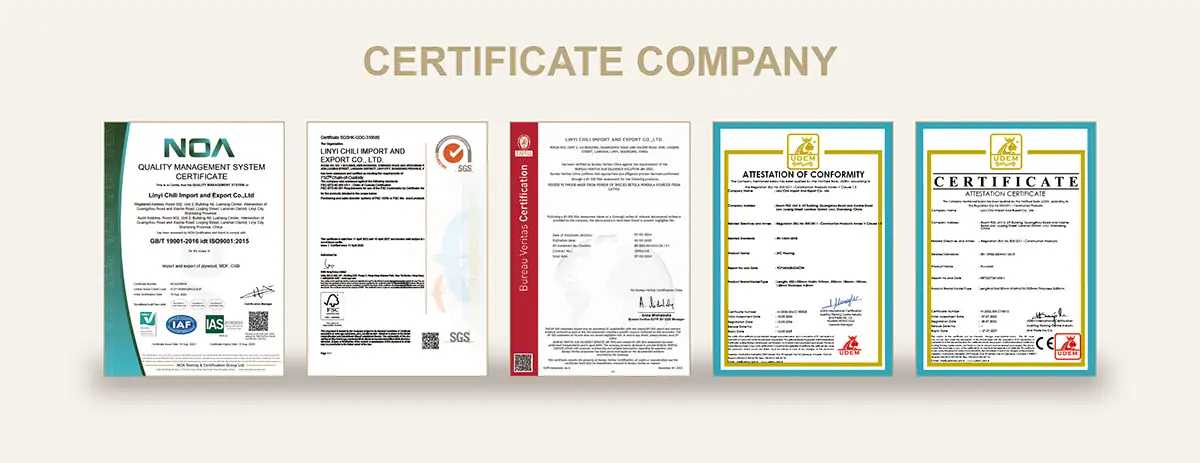
نُقدّم أرضيات SPC عالية الجودة مع رقابة صارمة على الجودة وقدرة إنتاجية مستقرة. منتجاتنا مطابقة تمامًا للمعايير الدولية، كما ندعم الحلول المُخصصة لتلبية احتياجات السوق المختلفة.

بالإضافة إلى ذلك، نركز على المتانة، وواقعية التصميم، والأداء طويل الأمد لضمان القدرة التنافسية القوية في مشاريع الأرضيات العالمية.
 

الأسئلة الشائعة (FAQ)

كم يدوم عمر أرضيات SPC؟

مع التركيب الصحيح والصيانة الدورية، تدوم الأرضيات عادةً من 15 إلى 20 عامًا في الاستخدام السكني. أما في المساحات التجارية ذات الحركة المرورية العالية، فعادةً ما تدوم من 10 إلى 15 عامًا.

هل يمكن تركيب أرضيات SPC فوق الخرسانة؟

نعم، إنه فعال للغاية على الأرضيات الخرسانية. فقط تأكد من أن السطح مستوٍ ونظيف وجاف قبل التركيب للحصول على أفضل النتائج.

هل أرضيات SPC سهلة التنظيف والصيانة؟

بالتأكيد. يكفي الكنس والمسح المنتظم باستخدام منظف معتدل للعناية اليومية. كل ما عليك فعله هو تجنب المنظفات الكاشطة أو الماء الزائد لحماية السطح جيدًا.

هل يمكن استخدام أرضيات SPC مع التدفئة الأرضية؟

Yes, this type of flooring works well with underfloor heating systems (up to 27°C). It provides efficient heat transfer and keeps excellent dimensional stability at the same time.

  1. TOOLS NEEDED
    • Double-sided mallet
    • Tapping block
    • Utility knife
    • Vinyl plank cutter (optional)
    • Knee pads
    • 3mm spacers
    • A pencil
    • Measuring tape
    • A level
    • Carpenter’s square
  2. PLANKS NEEDED TO COMPLETE YOUR PROJECT Measure the length and width of your room. If the room has alcoves or offsets, measure these separately. This will give you the square footage of the room. Purchase a minimum of 10% extra to cover mistakes, trimming and for future needs or replacement. Most installations require about 10% overage. However, this can vary depending upon the room size and layout. Do not install over Carpet or Carpet Pad. This product is not suitable for any outside use, sunrooms, solariums, or saunas. Exposure to long-term direct sunlight can cause damage to your floor.
  3. PRIOR TO INSTALLATION CHECK THE PLANKS BEFORE INSTALLING THEM TO BE SURE OF APPEARANCE Colour, shade or texture variations between samples, print colour photography & the actual material are not warranted. Mix & install planks from several different cartons to minimize shade variations. Planks should always be inspected for any dye lot variations. We will not warrant that different dye lots will match each other. We maintain strict quality control at the factory, but it is a good idea to check each plank for blemishes or flaws.ACCLIMATE Flooring BEFORE INSTALLATION You must place vinyl horizontally in the room where it will be installed for 48 hours prior to installation. Maintaining an optimum temperature between 16°C to 27°C and a humidity range of 30-50% is recommended during installation and life of floor. Do not remove the planks from the case during this acclimation period
  4. SUBFLOOR PREPARATION The subfloorsurface must be smooth, flat dry, clean, and solid. Carpetstaples or adhesive residue must be removed to ensure proper installation. Subfloorsshould be flat within a tolerance of 4.8mm per 3m. Any unevenness over 4.8mm must be sanded down or filled with a floor leveller. Voids or humpsin the subfloor will prevent vinyl from locking properly. Subfloors must be carefully checked for moisture problems. Any moisture problems need to be addressed prior to installation. New concrete floors need lo cure for a minimum of 60 days.
  5. MOISTURE & TEMPERATURE It is the contractor’s as well as the installer’s responsibility to test all concrete substrates, both new and old, for moisture content to determine if it is sufficiently dry to install flooring. – Maximum level per CaC1 test method is 2.27kg/453.6kg in 24 hours. – Maximum level for ASTM2170 i-SITU Relative humidity test method is 85%. – Relative humidity levels should never exceed 85%. Moisture will not damage the flooring, but it can get in walls & structure of the home and create an unhealthy environment. NOTE: SPC Flooring does not warrant or guarantee unsatisfactory installations due to the presence of excessive alkali, moisture, or hydrostatic pressure in subfloors. SPC floors have good thermal resistance characteristics; however, they are not designed for prolonged exposure to high temperatures.

    Here are a few points to consider:

    1. Temperature Limits: Most SPC flooring manufacturers recommend avoiding exposure to temperatures above 27-30 degrees Celsius, as this can lead to deformation or damage to the material.
    2. Installation Issues: When installing SPC flooring, it’srecommended to adhere to the temperature guidelinesto avoid problemsrelated to expansion and contraction of the material.
  6. OVER HYDRONIC RADIANT HEAT Flooring can be Installed over Hydronic radiant heat if the following guidelines are followed: – Complete system must be operational for a minimum of one week.- System should be turned off 72 hours prior to installation of Aquarius flooring and remain off 72 hours after installation is complete. – Turn system back on to its normal room temperature setting.- The subfloor surface must never exceed 30°C throughout the life of the floor. – Flooring and adhesive should never come in direct contact with heating system.
  7. UNDERLAYMENT The Flooring (If does not have attached pad) can be installed over approved dense sound underlayment. Must tape seams with waterproof duct tape. Do not use any additional underlayment if Flooring already has attached underlayment.
  8. INSTALLATION
    1. Start in a Corner: Begin in a corner of the room, placing spacers between the wall and the first plank to maintain an expansion gap.
    2. Laying the First Plank: Carefully align the first plank and gently tap it into place using a rubber mallet and tapping block.
    3. Continue Adding Planks: Install the next plank by angling it slightly and snapping it into the groove of the first plank. Continue this process, ensuring each plank is firmly in place.
    4. Cutting Planks: Measure and mark where cuts are needed. Use a utility knife to score the plank and then snap it along the line. A fine-tooth saw can also be used for complex cuts.
    5. Stagger the Seams: Make sure to stagger the seams by at least 6 inches between adjacent rows for a more natural and stable floor.
    6. Fitting Around Obstacles: When reaching obstacles like door frames or pipes, measure and cut the planks to fit. Always leave a small expansion gap around these areas.
    7. Final Row: For the last row, measure the gap and cut the planks to fit. It might be necessary to use a pull bar to snugly fit the last row of planks.
    8. Finishing Touches: Once all planks are laid, remove the spacers. You can add baseboards or quarter-round molding to cover the expansion gaps and enhance the room’s appearance.
  9. BASIC CLEANING Once all traces of adhesive have been removed, the floor should be dry vacuumed to remove all dust and loose debris. Damp mop as needed using clean water and diluted Ph. Neutral cleaner in cool water or ready to use spray cleaner that will not leave a residue. Do not use harsh cleaners or chemicals on floor. Do not use abrasive scrubbing tools, detergents, caustic cleaners, abrasive cleaners or “mop and shine” products. After 5-10 minutes, all dirt and residue of the cleaning agent should be removed; the floor should be rinsed with a damp mop and allowed to dry. Overtime floors may begin to lose their lustre and may require an application of floor polish. When and where you apply the floor polish will depend on the traffic the floor receives.

Related Products

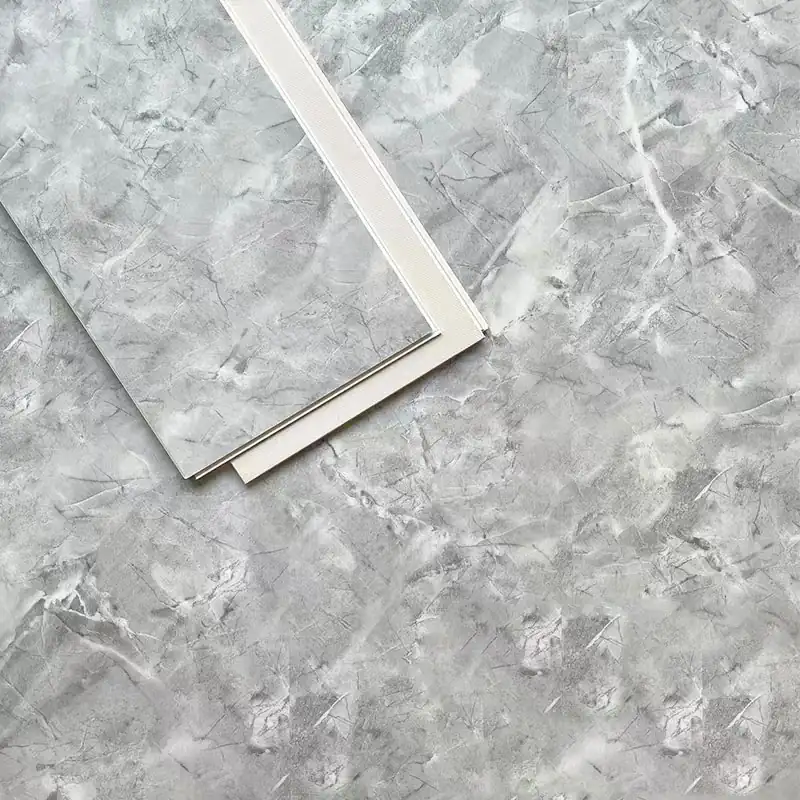
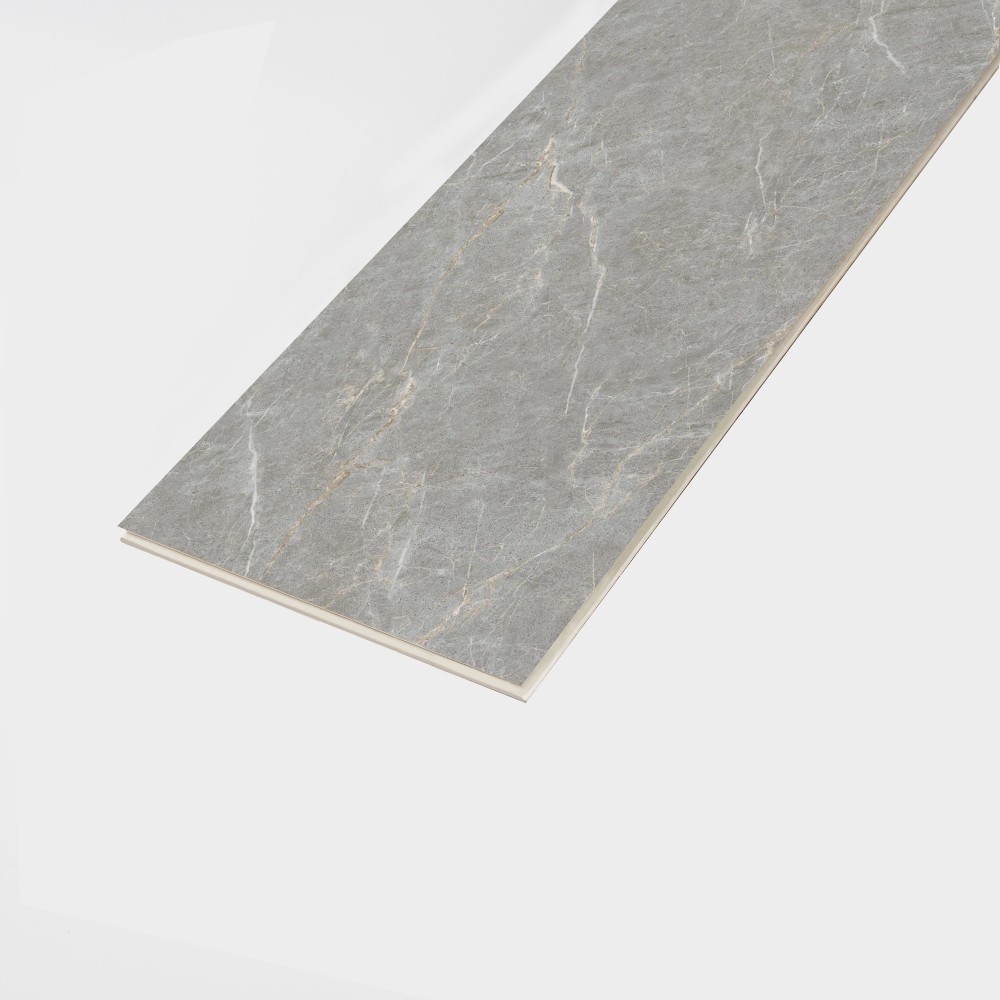
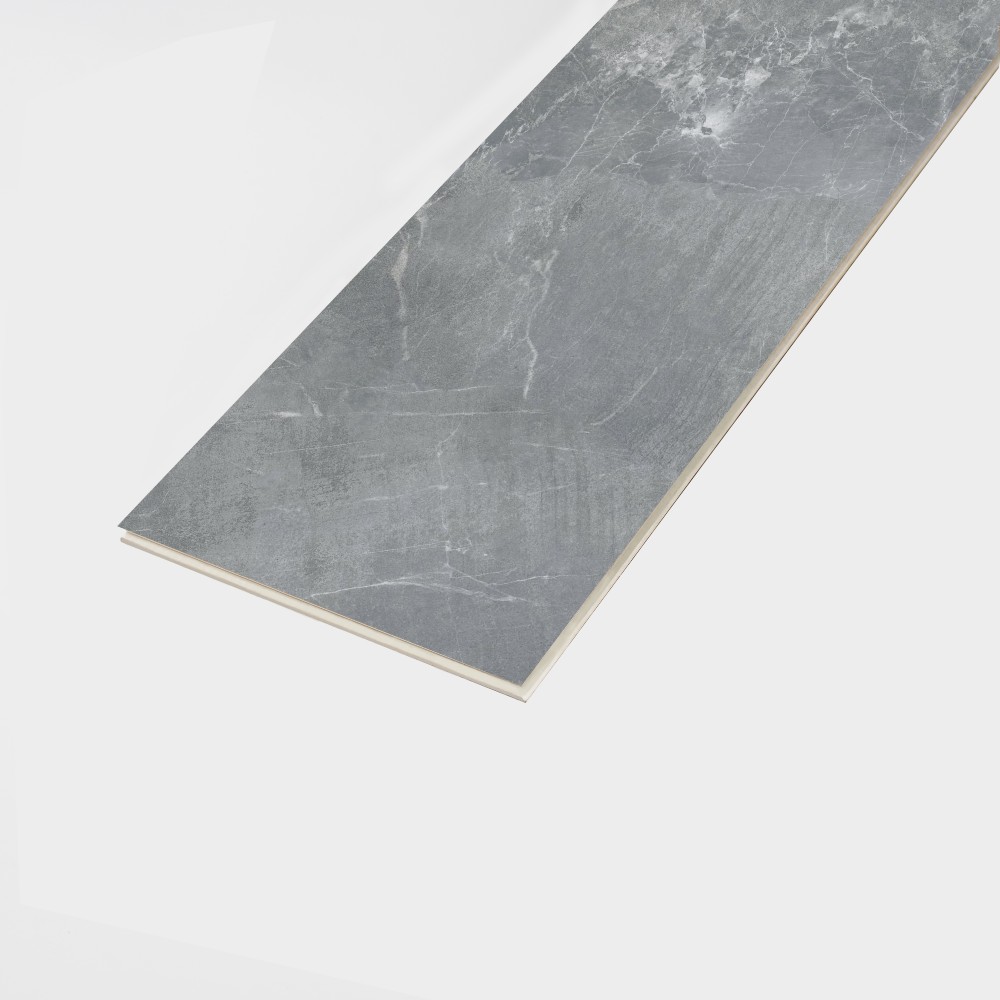
Stone Pattern SPC Flooring - Close-up of Marble Texture
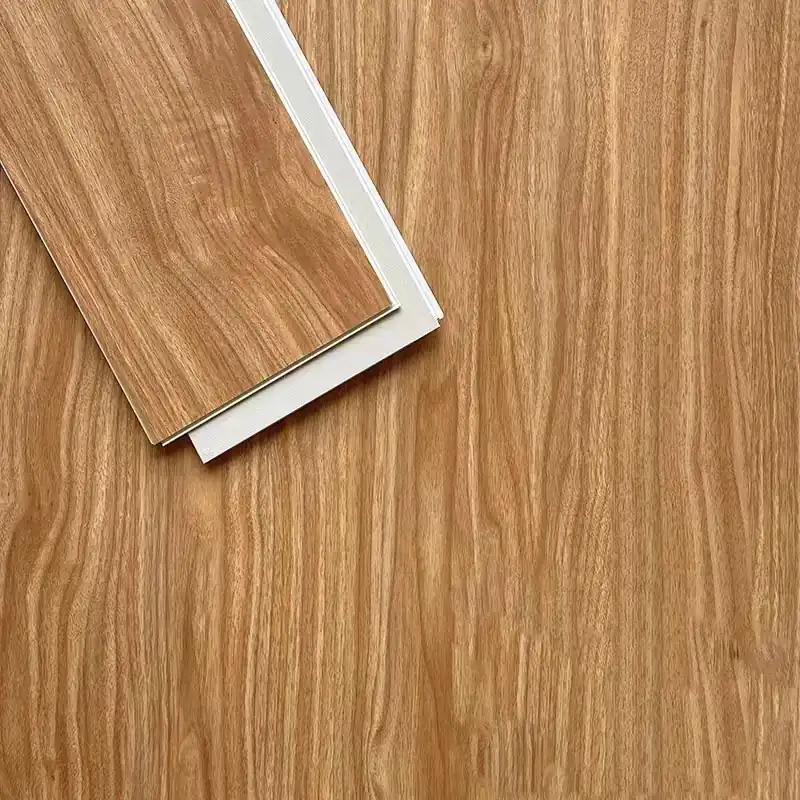
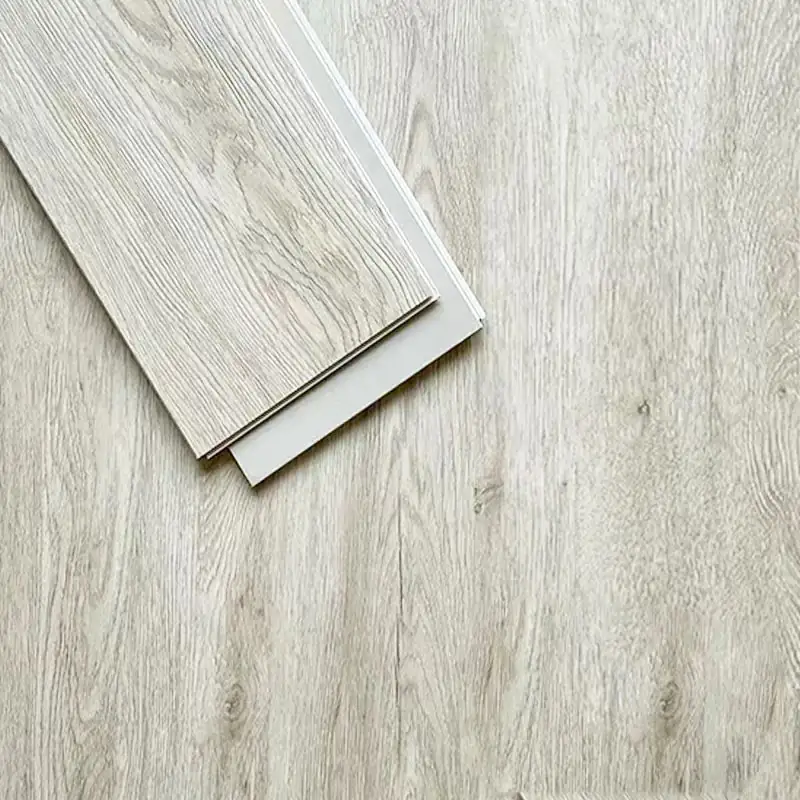
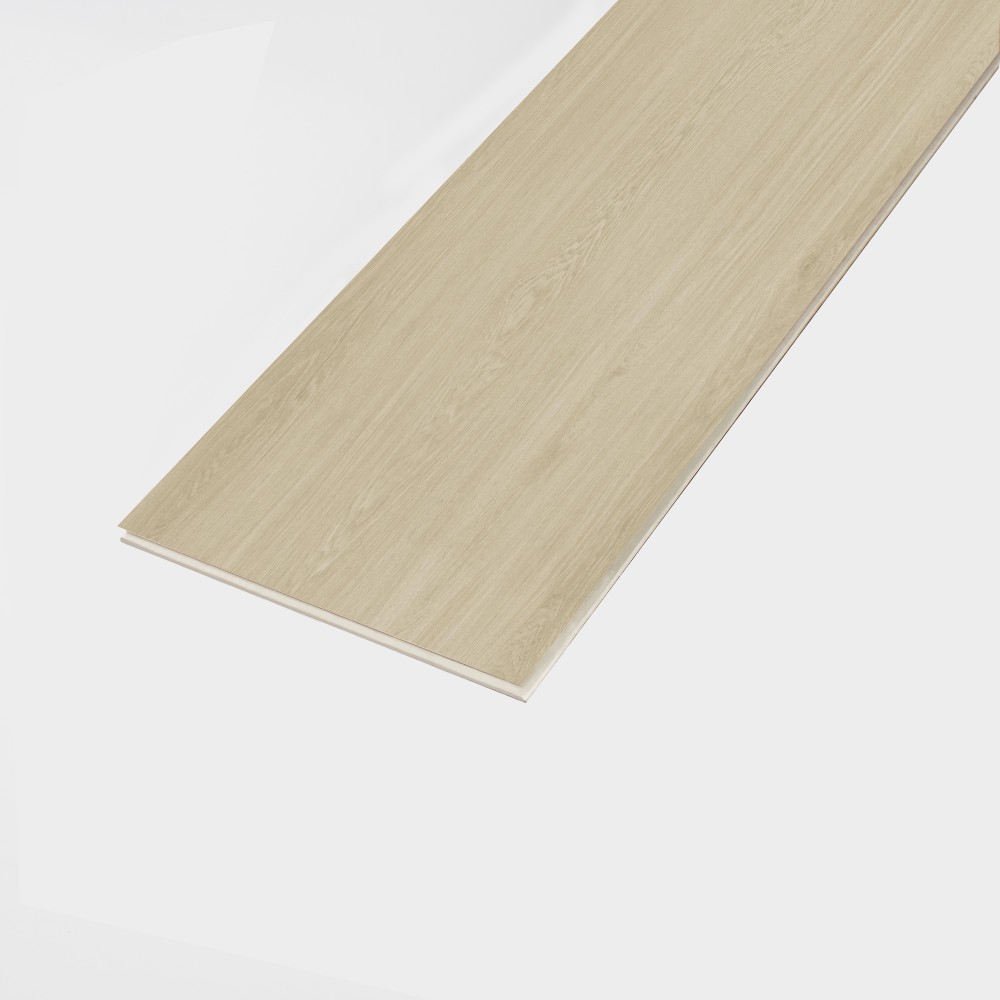
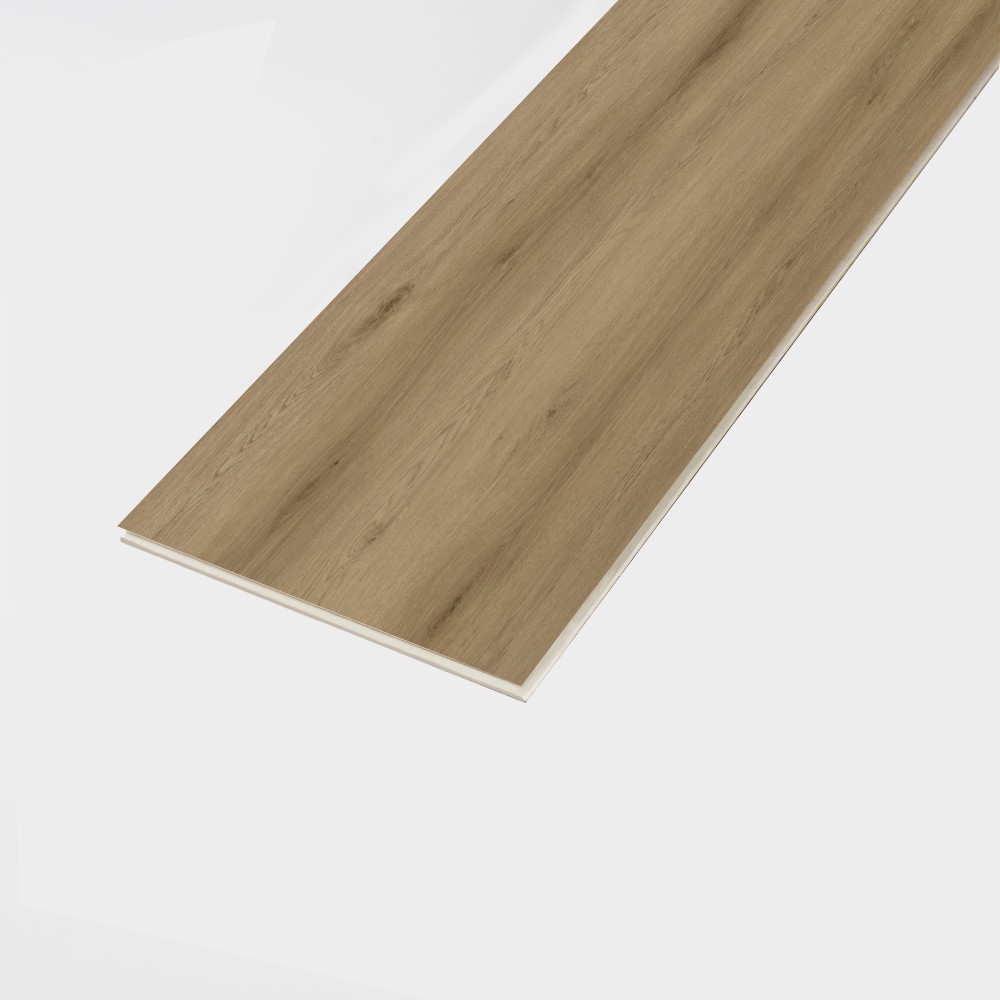
Wood grain SPC flooring natural oak texture surface