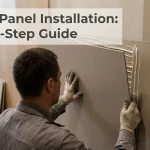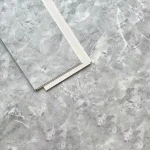
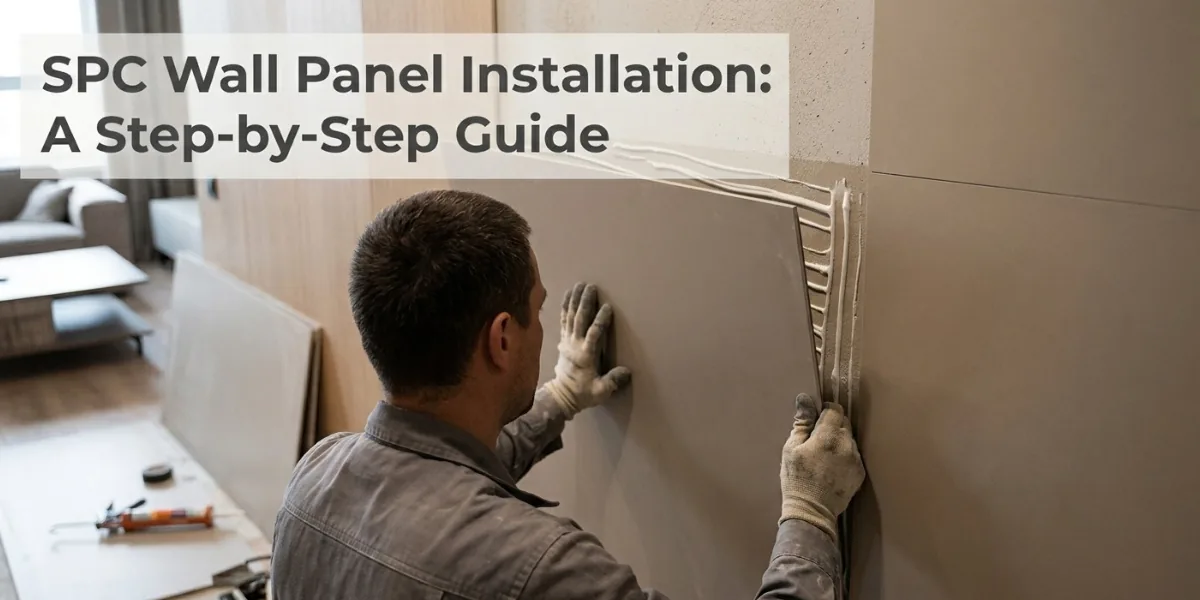
SPC wall panel installation is not complicated, but the preparation can make a big difference to the finished wall. A clean substrate, accurate measurements and the right fixing method help prevent uneven joints, visible gaps and unnecessary material waste.
For contractors and B2B buyers, it is worth understanding the installation process before ordering panels. The wall condition, panel size, surface finish and installation environment all affect the work on site.
Prepare the Wall Before Installation
Start by checking the wall rather than the panels. The surface should be firm, dry and reasonably flat. Remove dust, grease, loose paint and anything else that could affect adhesion.
SPC panels are rigid, so they will not hide major bumps or damaged areas. Small imperfections can usually be corrected during preparation, while larger problems should be repaired before installation.
Existing tile, plaster, concrete and suitable drywall can all be used as substrates when properly prepared. If the wall has an ongoing moisture problem, deal with the source first instead of covering it with a new wall finish.
If you are still comparing SPC products, see our guide to SPC material to understand its basic structure and characteristics.
Plan the Panel Layout
Measure the wall before cutting any panels. Mark the position of doors, windows, corners, sockets and pipes at this stage.
It is usually better to plan the complete layout before making the first cut. This helps avoid very narrow pieces in visible areas and reduces unnecessary waste.
The direction of the decorative surface also matters. With stone, marble or wood-look finishes, check how adjacent panels will look together before fixing them permanently.
For larger commercial projects, keeping the panel layout simple can also make installation faster and easier to control.
Select a Suitable Installation Method
Before starting SPC wall panel installation, check the wall condition, panel layout and fixing method to make sure they are suitable for the project.
Adhesive fixing is widely used for SPC wall panels because it gives the wall a clean appearance. Choose an adhesive that is suitable for both the panel backing and the substrate, and follow the manufacturer’s instructions for application and curing.
The condition of the wall matters here. Even a good adhesive cannot compensate for loose paint, dust or an unstable surface.
Some projects may require mechanical fixing or a supporting profile system. This can be useful when panels need to be removable or when the product is designed for a particular installation system.
Always check the technical information for the specific panel before choosing the fixing method.
Measure and Cut the Panels
Once the layout is confirmed, transfer the measurements to the panels.
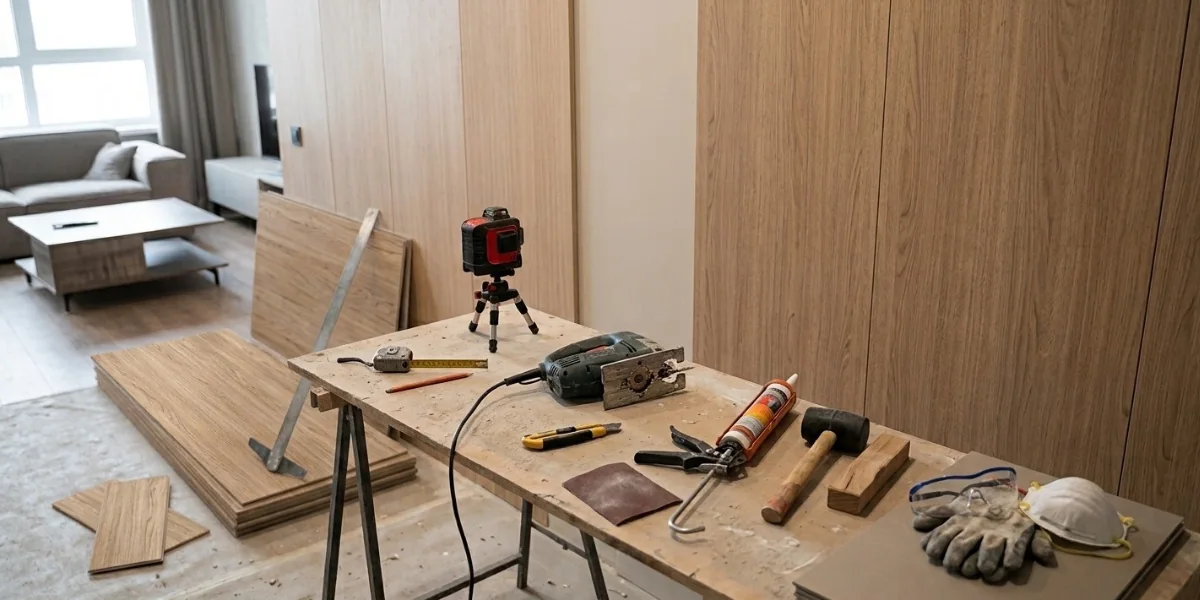
For straight cuts, use a suitable knife or saw according to the panel thickness and construction. Support the panel while cutting to reduce the risk of damaging the edge or decorative surface.
Openings need more attention. Measure carefully around electrical outlets, pipes, switches and other fixtures. A hole that is slightly too large can leave an awkward gap that is difficult to hide later.
Do not force a panel tightly against fixed objects. Follow the product instructions for any clearance needed around pipes, corners and other areas where movement may occur.
Install the First Panel Carefully
The first panel is the reference for the rest of the wall.
Use a level to mark a straight starting line and position the panel against it. If adhesive is being used, apply it as recommended and press the panel firmly against the substrate.
Check the panel before moving on. It should be straight, properly supported and correctly positioned.
This small check can save considerable time. If the first panel is out of alignment, the error can become more noticeable as additional panels are installed.
Fit the Remaining Panels
Continue across the wall according to the selected joint or connection system. Keep an eye on both the panel edges and the overall pattern.
Avoid forcing panels together when the substrate or previous panel is not correctly aligned. It is usually easier to correct the cause of a problem than to hide it with additional sealant or trim.
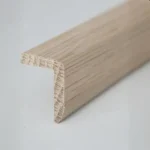
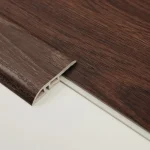
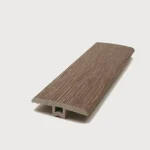
Corners, door frames and other openings should be finished according to the panel manufacturer’s recommended system. Suitable trims can also provide a cleaner transition between different surfaces.
Check Joints and Wet-Area Details
The joints deserve particular attention because they are one of the most visible parts of the finished wall.
In dry interior areas, the panel connection may be sufficient depending on the product design. Where the wall is exposed to water, use the recommended sealing method at joints, corners and penetrations.
Around plumbing fixtures and other openings, make sure the finished connection is neat and properly sealed. Do not rely on excess adhesive to fill large gaps.
For projects involving bathrooms or shower areas, see our guide to SPC wall panels for bathrooms for more information about applications and limitations.
Common Installation Mistakes
Several problems can be avoided before they happen:
- Installing over a loose or contaminated surface
- Cutting panels before checking the complete layout
- Using an adhesive that is not suitable for the panel
- Making openings larger than necessary
- Ignoring alignment after installing the first panel
- Leaving corners or penetrations unfinished
- Exposing newly installed panels to water before the adhesive has cured
Following the product installation instructions is especially important when working with different panel constructions or accessories.
Plan Your Material Quantity
B2B buyers should calculate the wall area before placing an order and allow additional material for cutting and installation waste.
The amount of extra material needed depends on the panel dimensions and the number of corners, openings and other details on the wall. Larger panels may reduce the number of joints, but they can also require more careful handling and cutting.
Before ordering, confirm panel dimensions, finishes, accessories, packaging and minimum order requirements with the supplier. For larger purchases, our guide to SPC wall panel wholesale provides additional information for B2B sourcing.
Conclusion
Good SPC wall panel installation starts with a suitable wall and a clear layout. Taking time to measure, cut and align the panels properly can make the installation cleaner and reduce material waste.
For commercial and distribution projects, it is also important to confirm the panel specifications and installation requirements before ordering. Contact us to discuss SPC wall panel finishes, specifications and bulk supply options for your project.