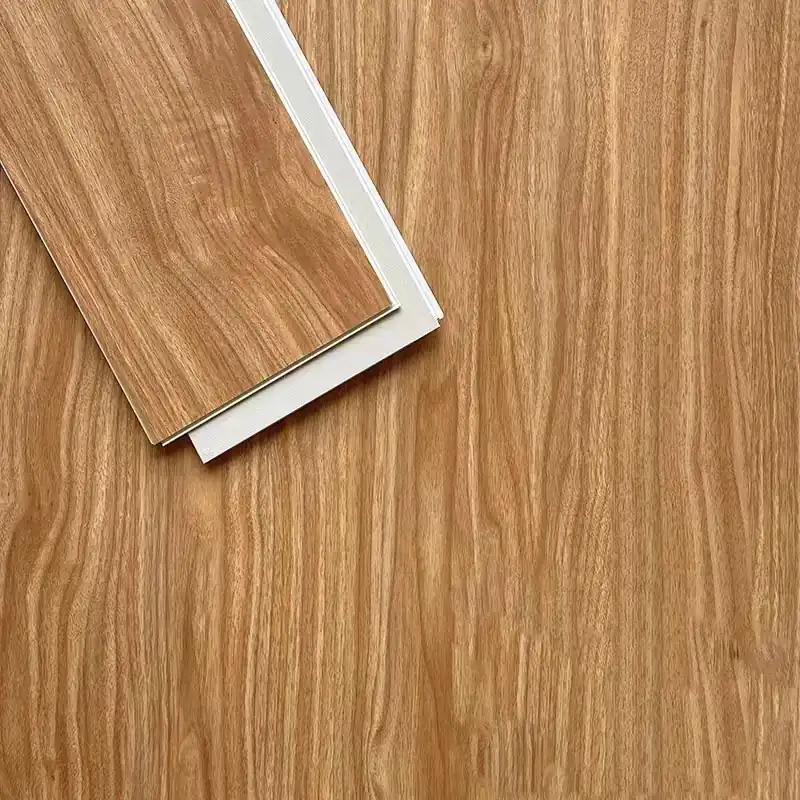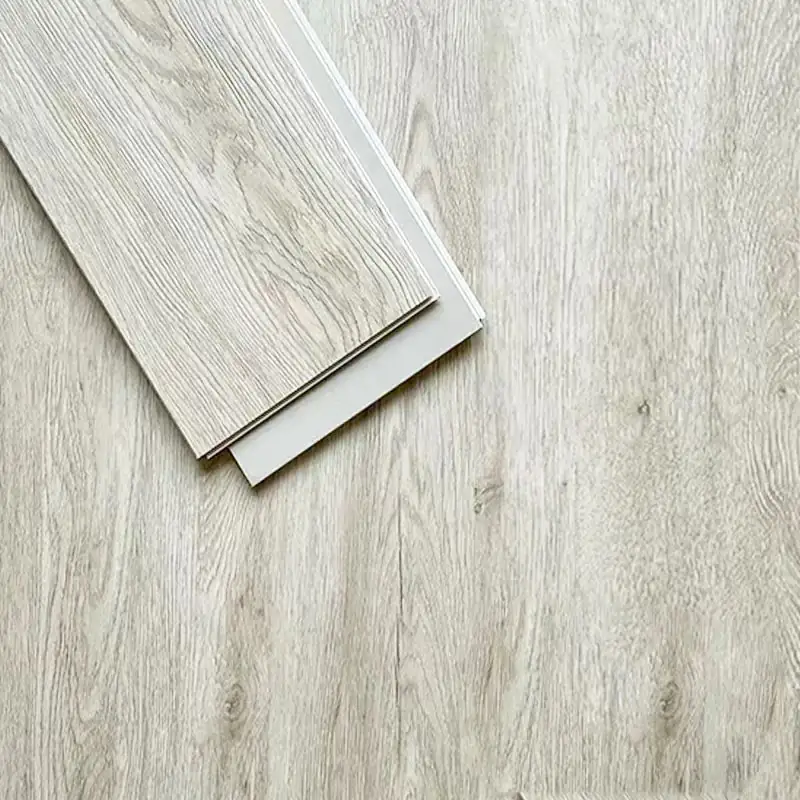
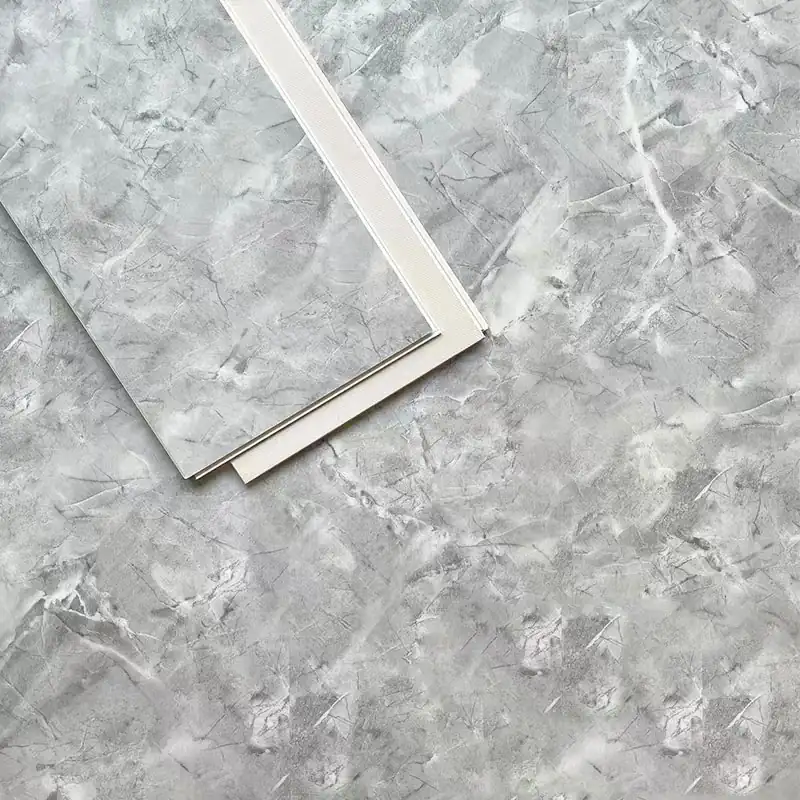
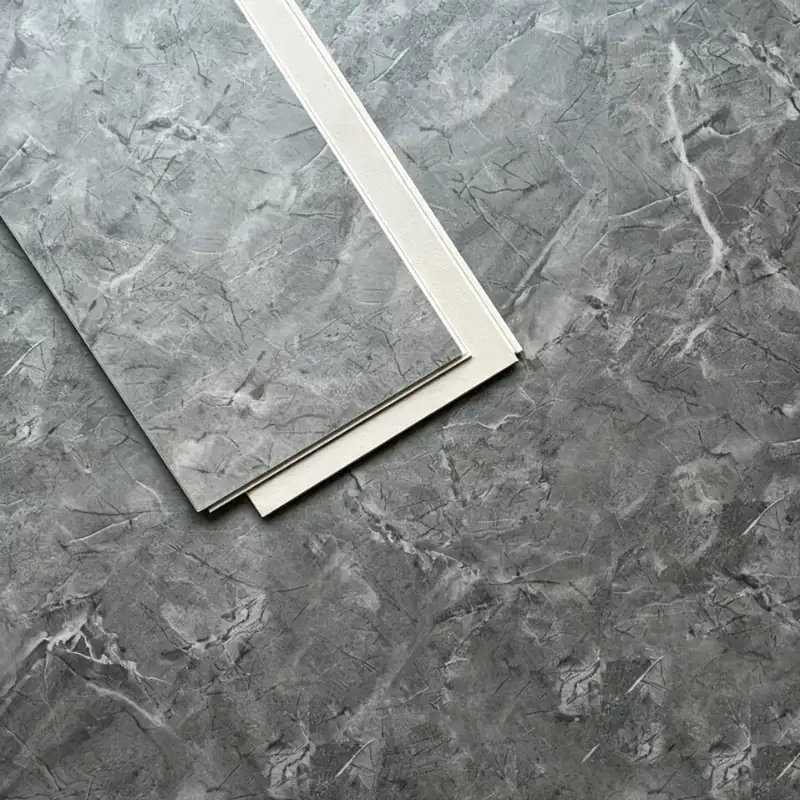
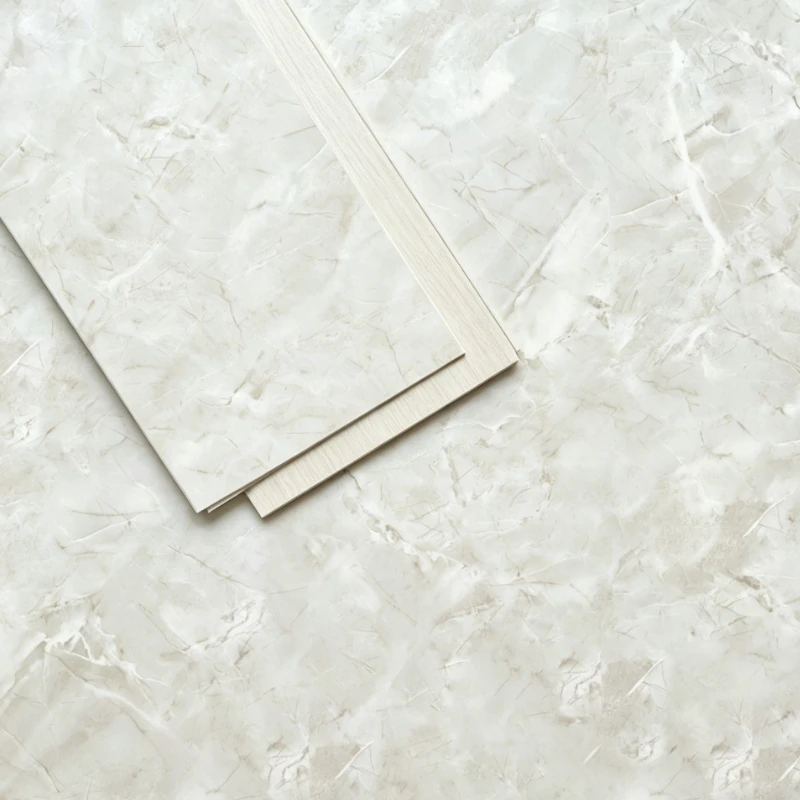
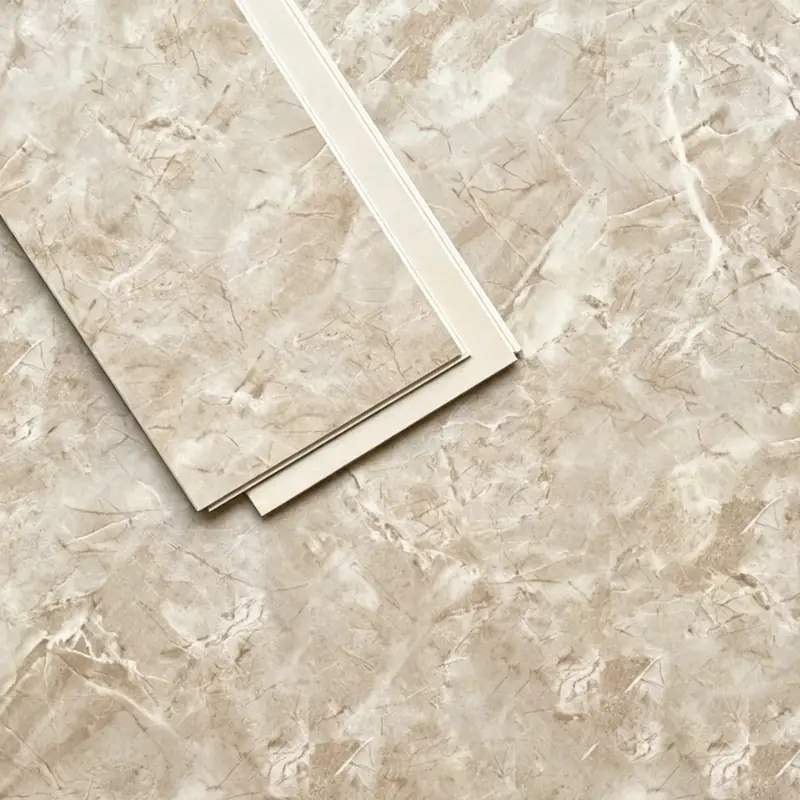
Stone Pattern SPC Flooring

stone-pattern-spc-flooring-surface-closeup stone-pattern-spc-flooring-wood-grain-finish stone-pattern-spc-flooring-texture-detail stone-pattern-spc-flooring-surface-detail stone-pattern-spc-flooring-marble-texture

Stone Pattern SPC Flooring

Stone Pattern SPC Flooring is a durable and waterproof flooring solution that replicates the natural look of stone, offering a stylish and practical option for modern interiors.

Advantages:

  • Realistic stone appearance with elegant design
  • 100% waterproof, ideal for kitchens and bathrooms
  • Highly durable and stable SPC core structure
  • Scratch-resistant and impact-resistant for high-traffic areas
  • Easy click-lock installation, saving time and labor
  • Low maintenance and easy to clean
  • Available in various colors and textures
Categories ,

What is Stone Pattern SPC Flooring?

Stone Pattern SPC Flooring is a high-performance rigid core flooring designed to replicate the natural appearance of stone materials such as marble, slate, and concrete. It is made from a combination of natural limestone powder, polyvinyl chloride (PVC), and stabilizers, forming a dense and durable structure.

Compared to traditional stone flooring, this type of SPC flooring offers a more practical solution with lighter weight, easier installation, and lower maintenance requirements. It combines realistic aesthetics with advanced performance, making it an ideal choice for modern residential and commercial interiors.
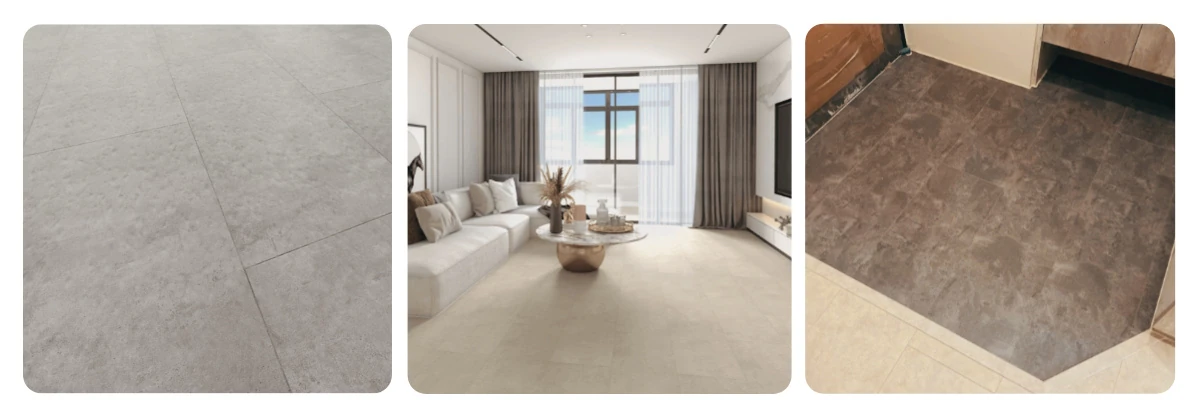
Realistic Stone Effect Stone Pattern SPC Flooring


Product Specifications

Item Parameter
Material Stone Plastic Composite (SPC)
Thickness 4mm / 5mm / 6mm / 8mm
Wear Layer 0.2mm, 0.3mm, 0.5mm, 0.7mm, 1.0mm
Size 6”×48” (150×1220mm)
7”×48” (182×1220mm)
9”×48” (230×1220mm)
9”×60” (230×1525mm)
Surface Texture Wood Grain / Marble / Carpet
Installation Click Lock System
Application Home, Office, Shop, Hotel, School

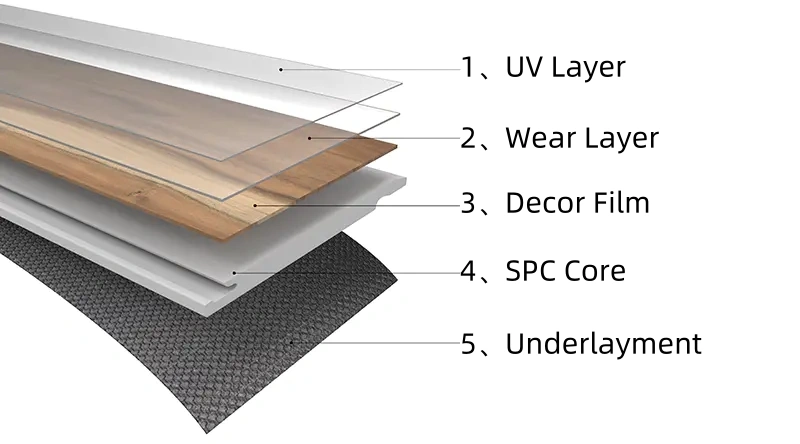
The Structure Of Stone Pattern SPC Flooring

  1. UV layer (UV coating): The top UV coating protects the surface from scratches, stains, and fading. It also improves wear resistance and makes daily cleaning easier, helping the floor maintain its original look.
  2. Wear layer (Wear layer): The wear layer provides strong protection against abrasion, impact, and heavy foot traffic. A thicker wear layer ensures better durability and extends the lifespan of the flooring.
  3. Decorative Film: This layer gives SPC flooring its realistic appearance, such as wood grain, stone, or marble textures. High-definition printing technology creates natural and stylish designs for various interior styles.
  4. SPC Core: The SPC core is the main structural layer made from limestone powder and PVC. It offers excellent rigidity, 100% waterproof performance, and high dimensional stability, preventing expansion or deformation.
  5. Underlayment: The underlayment is an optional backing layer that improves comfort underfoot, reduces noise, and enhances insulation. It also helps smooth minor subfloor imperfections for easier installation.
SPC flooring structure layers

Key Features

Realistic Stone Appearance

Designed with high-definition printing technology, the surface accurately replicates natural stone textures such as marble and slate.

100% Waterproof

Completely resistant to water, making it suitable for moisture-prone areas like kitchens and bathrooms.

Durable and Stable

The rigid core structure prevents expansion and contraction, ensuring long-term stability even under heavy use.

Easy Installation

Equipped with a click-lock system, allowing quick and hassle-free installation without the need for professional tools.

Low Maintenance

Requires minimal upkeep and can be easily cleaned with regular household cleaning methods.

Eco-Friendly and Safe

Made from environmentally friendly materials, free from harmful substances, and safe for indoor environments.

Benefits

  • Provides a cost-effective alternative to natural stone flooring
  • Lightweight and easier to transport and handle
  • Reduces installation time and labor costs
  • Offers long service life with consistent performance
  • Enhances interior spaces with a modern and elegant look

Applications of Stone Pattern SPC Flooring

Stone Pattern SPC Flooring is widely used in a variety of spaces due to its durability and versatility:

  • Living rooms and bedrooms
  • Kitchens and bathrooms
  • Offices and commercial buildings
  • Hotels, restaurants, and retail stores
  • High-traffic areas requiring durable flooring

Installation System

Stone Pattern SPC Flooring is designed for easy installation using a click-lock system. For best results, ensure the subfloor is clean, level, and dry before installation.

Basic installation steps include:

  1. Prepare and clean the subfloor
  2. Measure and plan the layout
  3. Install planks using the click-lock system
  4. Ensure tight connections between panels
  5. Complete finishing with trims and accessories

Why Choose Us?

We provide high-quality flooring solutions supported by strict quality control and stable production capacity. Our products meet international standards and are suitable for a wide range of residential and commercial projects.

With a focus on durability, design realism, and long-term performance, we aim to deliver reliable products that enhance interior spaces and meet global market demands.
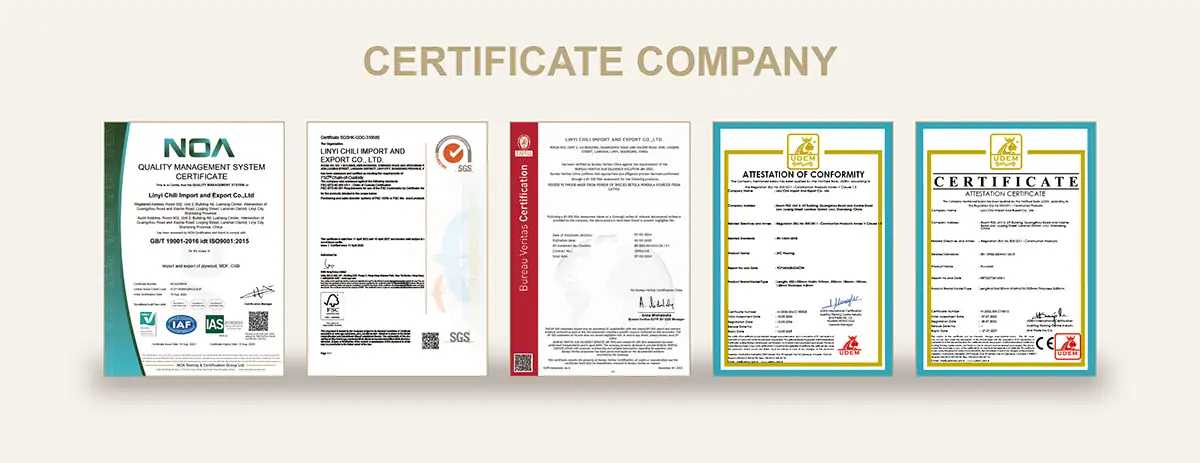
 

company certificates

Frequently Asked Questions (FAQ)

What is this type of SPC flooring?

This flooring features a rigid core structure and is designed to replicate natural stone surfaces such as marble, slate, and concrete, combining realistic appearance with strong durability.

Is it suitable for high-traffic areas?

Yes, it offers excellent resistance to wear, scratches, and impact, making it ideal for both residential and commercial spaces with heavy foot traffic.

Can it be installed over concrete floors?

Yes, it can be installed directly over concrete as long as the surface is level, clean, and dry before installation.

How do you clean and maintain it?

It requires minimal maintenance. Regular sweeping and occasional damp mopping are enough to keep it clean and in good condition.

  1. TOOLS NEEDED
    • Double-sided mallet
    • Tapping block
    • Utility knife
    • Vinyl plank cutter (optional)
    • Knee pads
    • 3mm spacers
    • A pencil
    • Measuring tape
    • A level
    • Carpenter’s square
  2. PLANKS NEEDED TO COMPLETE YOUR PROJECT Measure the length and width of your room. If the room has alcoves or offsets, measure these separately. This will give you the square footage of the room. Purchase a minimum of 10% extra to cover mistakes, trimming and for future needs or replacement. Most installations require about 10% overage. However, this can vary depending upon the room size and layout. Do not install over Carpet or Carpet Pad. This product is not suitable for any outside use, sunrooms, solariums, or saunas. Exposure to long-term direct sunlight can cause damage to your floor.
  3. PRIOR TO INSTALLATION CHECK THE PLANKS BEFORE INSTALLING THEM TO BE SURE OF APPEARANCE Colour, shade or texture variations between samples, print colour photography & the actual material are not warranted. Mix & install planks from several different cartons to minimize shade variations. Planks should always be inspected for any dye lot variations. We will not warrant that different dye lots will match each other. We maintain strict quality control at the factory, but it is a good idea to check each plank for blemishes or flaws.ACCLIMATE Flooring BEFORE INSTALLATION You must place vinyl horizontally in the room where it will be installed for 48 hours prior to installation. Maintaining an optimum temperature between 16°C to 27°C and a humidity range of 30-50% is recommended during installation and life of floor. Do not remove the planks from the case during this acclimation period
  4. SUBFLOOR PREPARATION The subfloorsurface must be smooth, flat dry, clean, and solid. Carpetstaples or adhesive residue must be removed to ensure proper installation. Subfloorsshould be flat within a tolerance of 4.8mm per 3m. Any unevenness over 4.8mm must be sanded down or filled with a floor leveller. Voids or humpsin the subfloor will prevent vinyl from locking properly. Subfloors must be carefully checked for moisture problems. Any moisture problems need to be addressed prior to installation. New concrete floors need lo cure for a minimum of 60 days.
  5. MOISTURE & TEMPERATURE It is the contractor’s as well as the installer’s responsibility to test all concrete substrates, both new and old, for moisture content to determine if it is sufficiently dry to install flooring. – Maximum level per CaC1 test method is 2.27kg/453.6kg in 24 hours. – Maximum level for ASTM2170 i-SITU Relative humidity test method is 85%. – Relative humidity levels should never exceed 85%. Moisture will not damage the flooring, but it can get in walls & structure of the home and create an unhealthy environment. NOTE: SPC Flooring does not warrant or guarantee unsatisfactory installations due to the presence of excessive alkali, moisture, or hydrostatic pressure in subfloors. SPC floors have good thermal resistance characteristics; however, they are not designed for prolonged exposure to high temperatures.

    Here are a few points to consider:

    1. Temperature Limits: Most SPC flooring manufacturers recommend avoiding exposure to temperatures above 27-30 degrees Celsius, as this can lead to deformation or damage to the material.
    2. Installation Issues: When installing SPC flooring, it’srecommended to adhere to the temperature guidelinesto avoid problemsrelated to expansion and contraction of the material.
  6. OVER HYDRONIC RADIANT HEAT Flooring can be Installed over Hydronic radiant heat if the following guidelines are followed: – Complete system must be operational for a minimum of one week.- System should be turned off 72 hours prior to installation of Aquarius flooring and remain off 72 hours after installation is complete. – Turn system back on to its normal room temperature setting.- The subfloor surface must never exceed 30°C throughout the life of the floor. – Flooring and adhesive should never come in direct contact with heating system.
  7. UNDERLAYMENT The Flooring (If does not have attached pad) can be installed over approved dense sound underlayment. Must tape seams with waterproof duct tape. Do not use any additional underlayment if Flooring already has attached underlayment.
  8. INSTALLATION
    1. Start in a Corner: Begin in a corner of the room, placing spacers between the wall and the first plank to maintain an expansion gap.
    2. Laying the First Plank: Carefully align the first plank and gently tap it into place using a rubber mallet and tapping block.
    3. Continue Adding Planks: Install the next plank by angling it slightly and snapping it into the groove of the first plank. Continue this process, ensuring each plank is firmly in place.
    4. Cutting Planks: Measure and mark where cuts are needed. Use a utility knife to score the plank and then snap it along the line. A fine-tooth saw can also be used for complex cuts.
    5. Stagger the Seams: Make sure to stagger the seams by at least 6 inches between adjacent rows for a more natural and stable floor.
    6. Fitting Around Obstacles: When reaching obstacles like door frames or pipes, measure and cut the planks to fit. Always leave a small expansion gap around these areas.
    7. Final Row: For the last row, measure the gap and cut the planks to fit. It might be necessary to use a pull bar to snugly fit the last row of planks.
    8. Finishing Touches: Once all planks are laid, remove the spacers. You can add baseboards or quarter-round molding to cover the expansion gaps and enhance the room’s appearance.
  9. BASIC CLEANING Once all traces of adhesive have been removed, the floor should be dry vacuumed to remove all dust and loose debris. Damp mop as needed using clean water and diluted Ph. Neutral cleaner in cool water or ready to use spray cleaner that will not leave a residue. Do not use harsh cleaners or chemicals on floor. Do not use abrasive scrubbing tools, detergents, caustic cleaners, abrasive cleaners or “mop and shine” products. After 5-10 minutes, all dirt and residue of the cleaning agent should be removed; the floor should be rinsed with a damp mop and allowed to dry. Overtime floors may begin to lose their lustre and may require an application of floor polish. When and where you apply the floor polish will depend on the traffic the floor receives.

Related Products

Wood grain SPC flooring natural oak texture surface
SPC flooring display with modern waterproof surface finish